Stitch Seasonal Placemats with Your Longarm

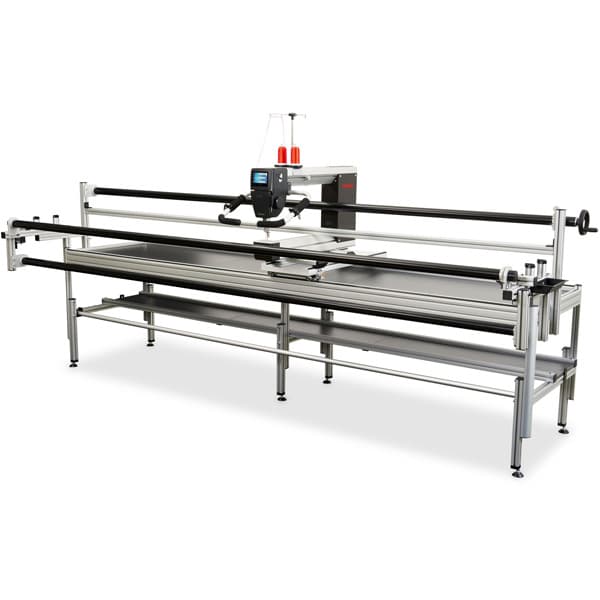
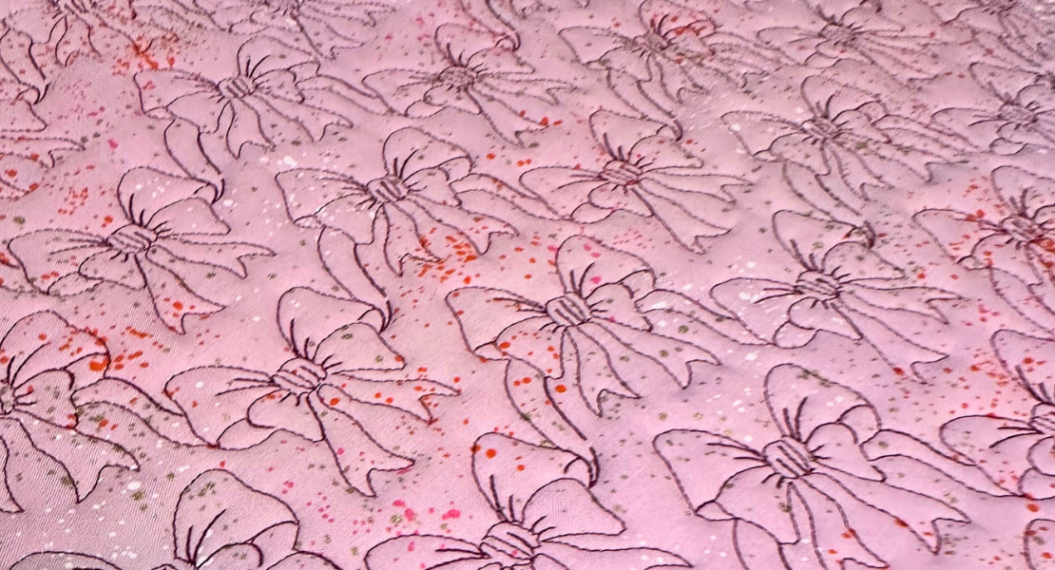
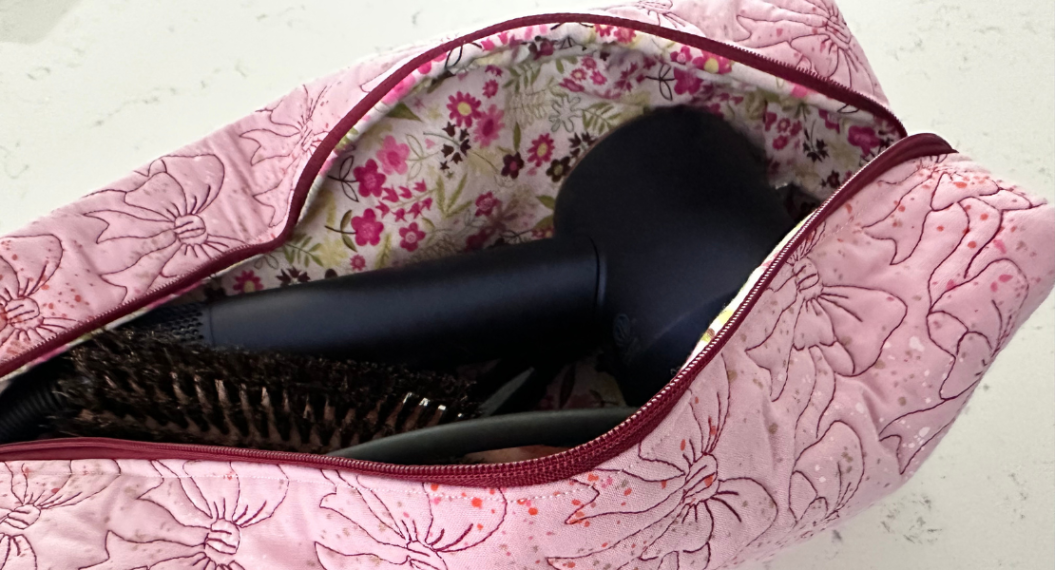
When I started playing with the BERNINA Q 24 with Q-matic, my mind went straight to all the fun projects I could make with just some quilted fabric — boxy toiletries bags, cup koozies, hot tools bags, and more. The quilting becomes the focus, the same way a print would in these projects. This project is an exceptionally easy project for longarmers, and just as perfect for anyone who enjoys quilting on a domestic sewing machine.
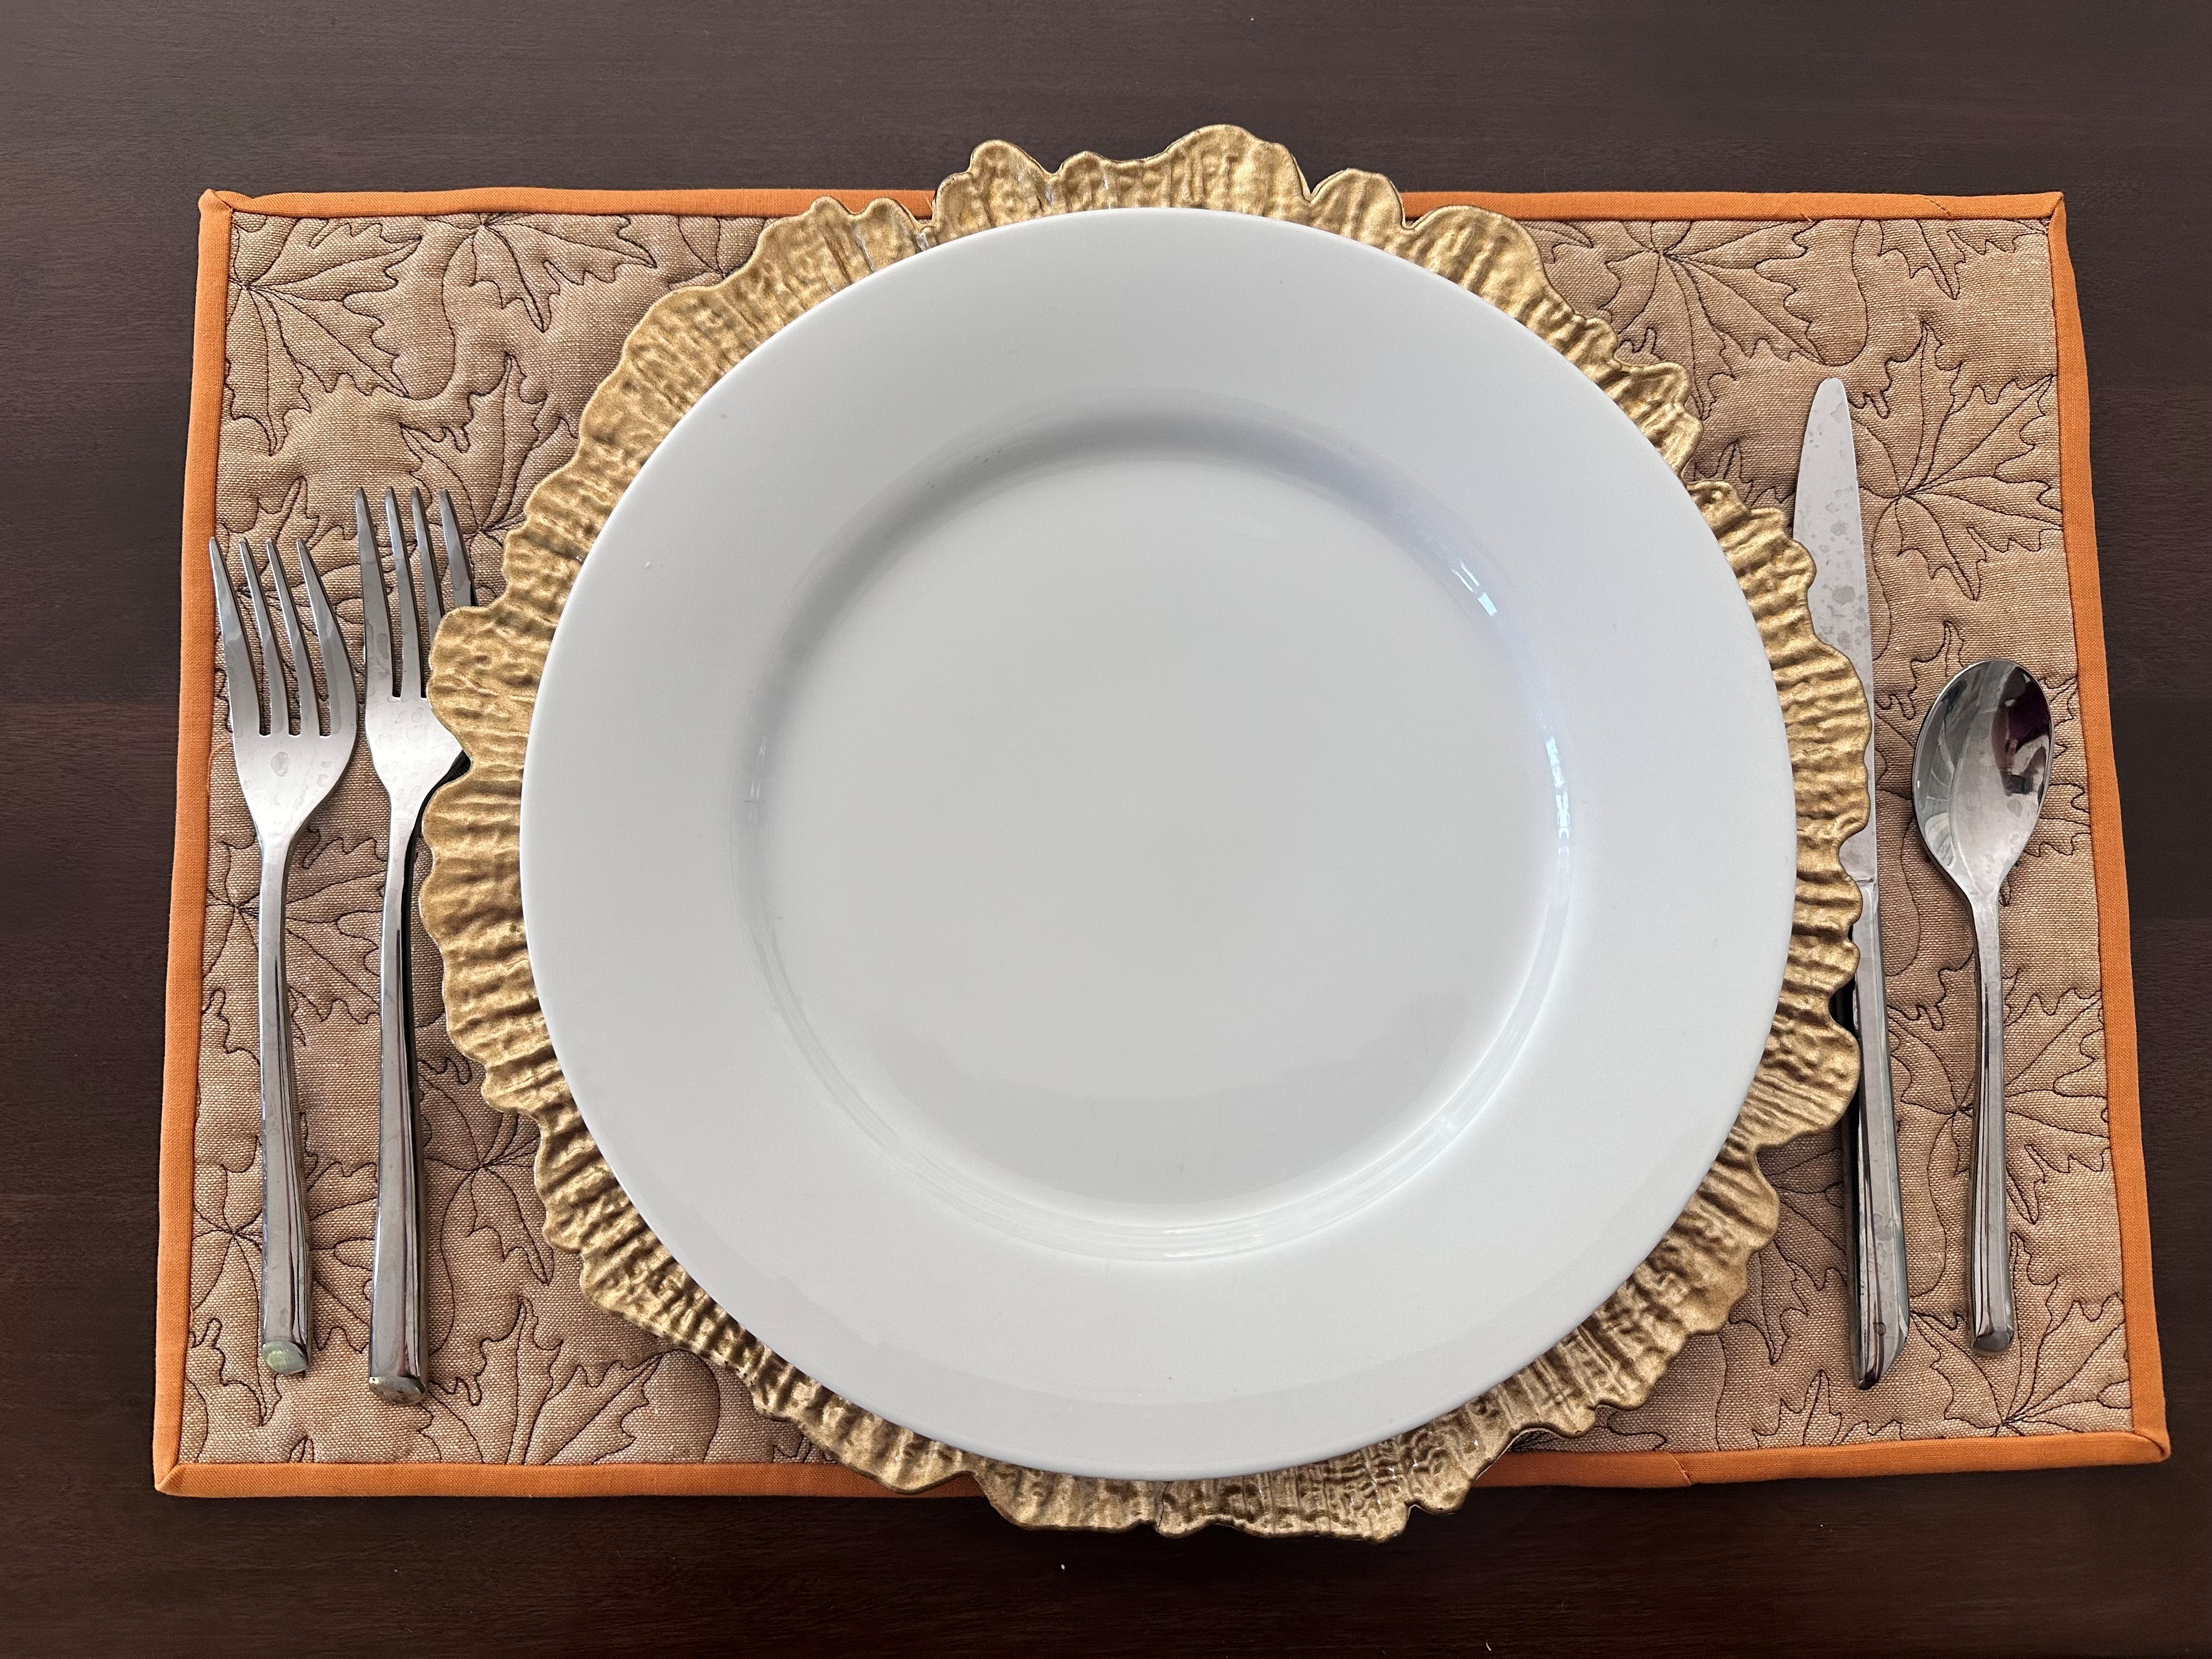
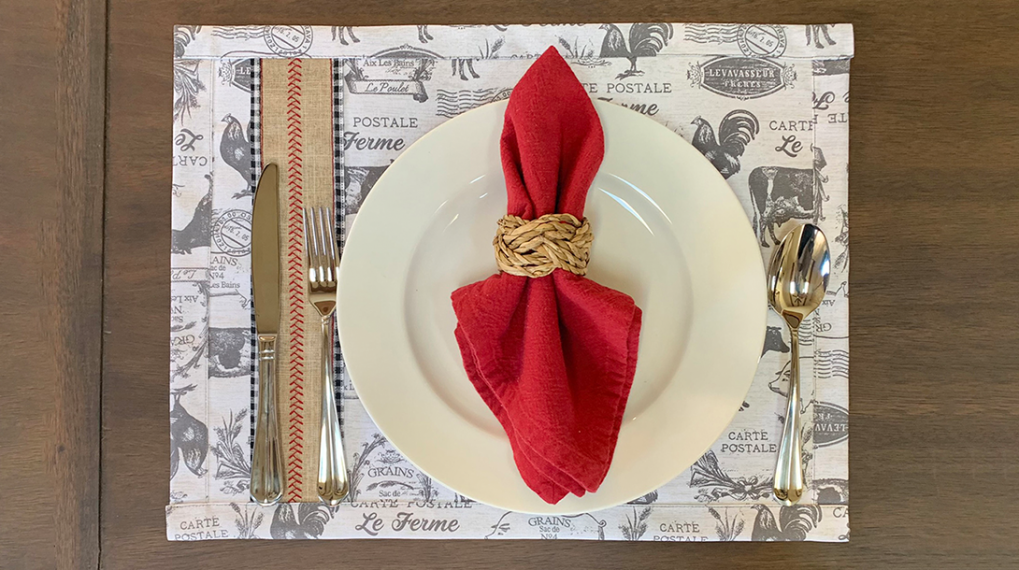
For this project, I decided to update my tablescape and create some new placemats for my dining room table. Having recently used insulated batting for my hot hair tools bags, I thought this would be another great use for that batting to protect my dining room table.
Materials Needed to Create Seasonal Placemats
The materials below will make four placemats. You can increase or decrease your materials if you’d like to make more or fewer placemats.
- 1 yard backing fabric
- 1 yard top fabric
- 1 yard cotton batting
- 1 yard insulated batting
- Preferred quilting thread (I highly recommend testing out some variegated thread here if you are feeling super creative.)
- 1/2 yard of binding
Steps to Make Your Placemats
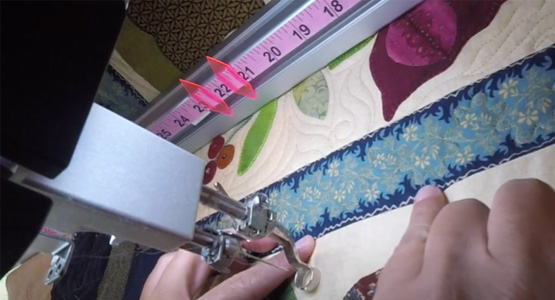
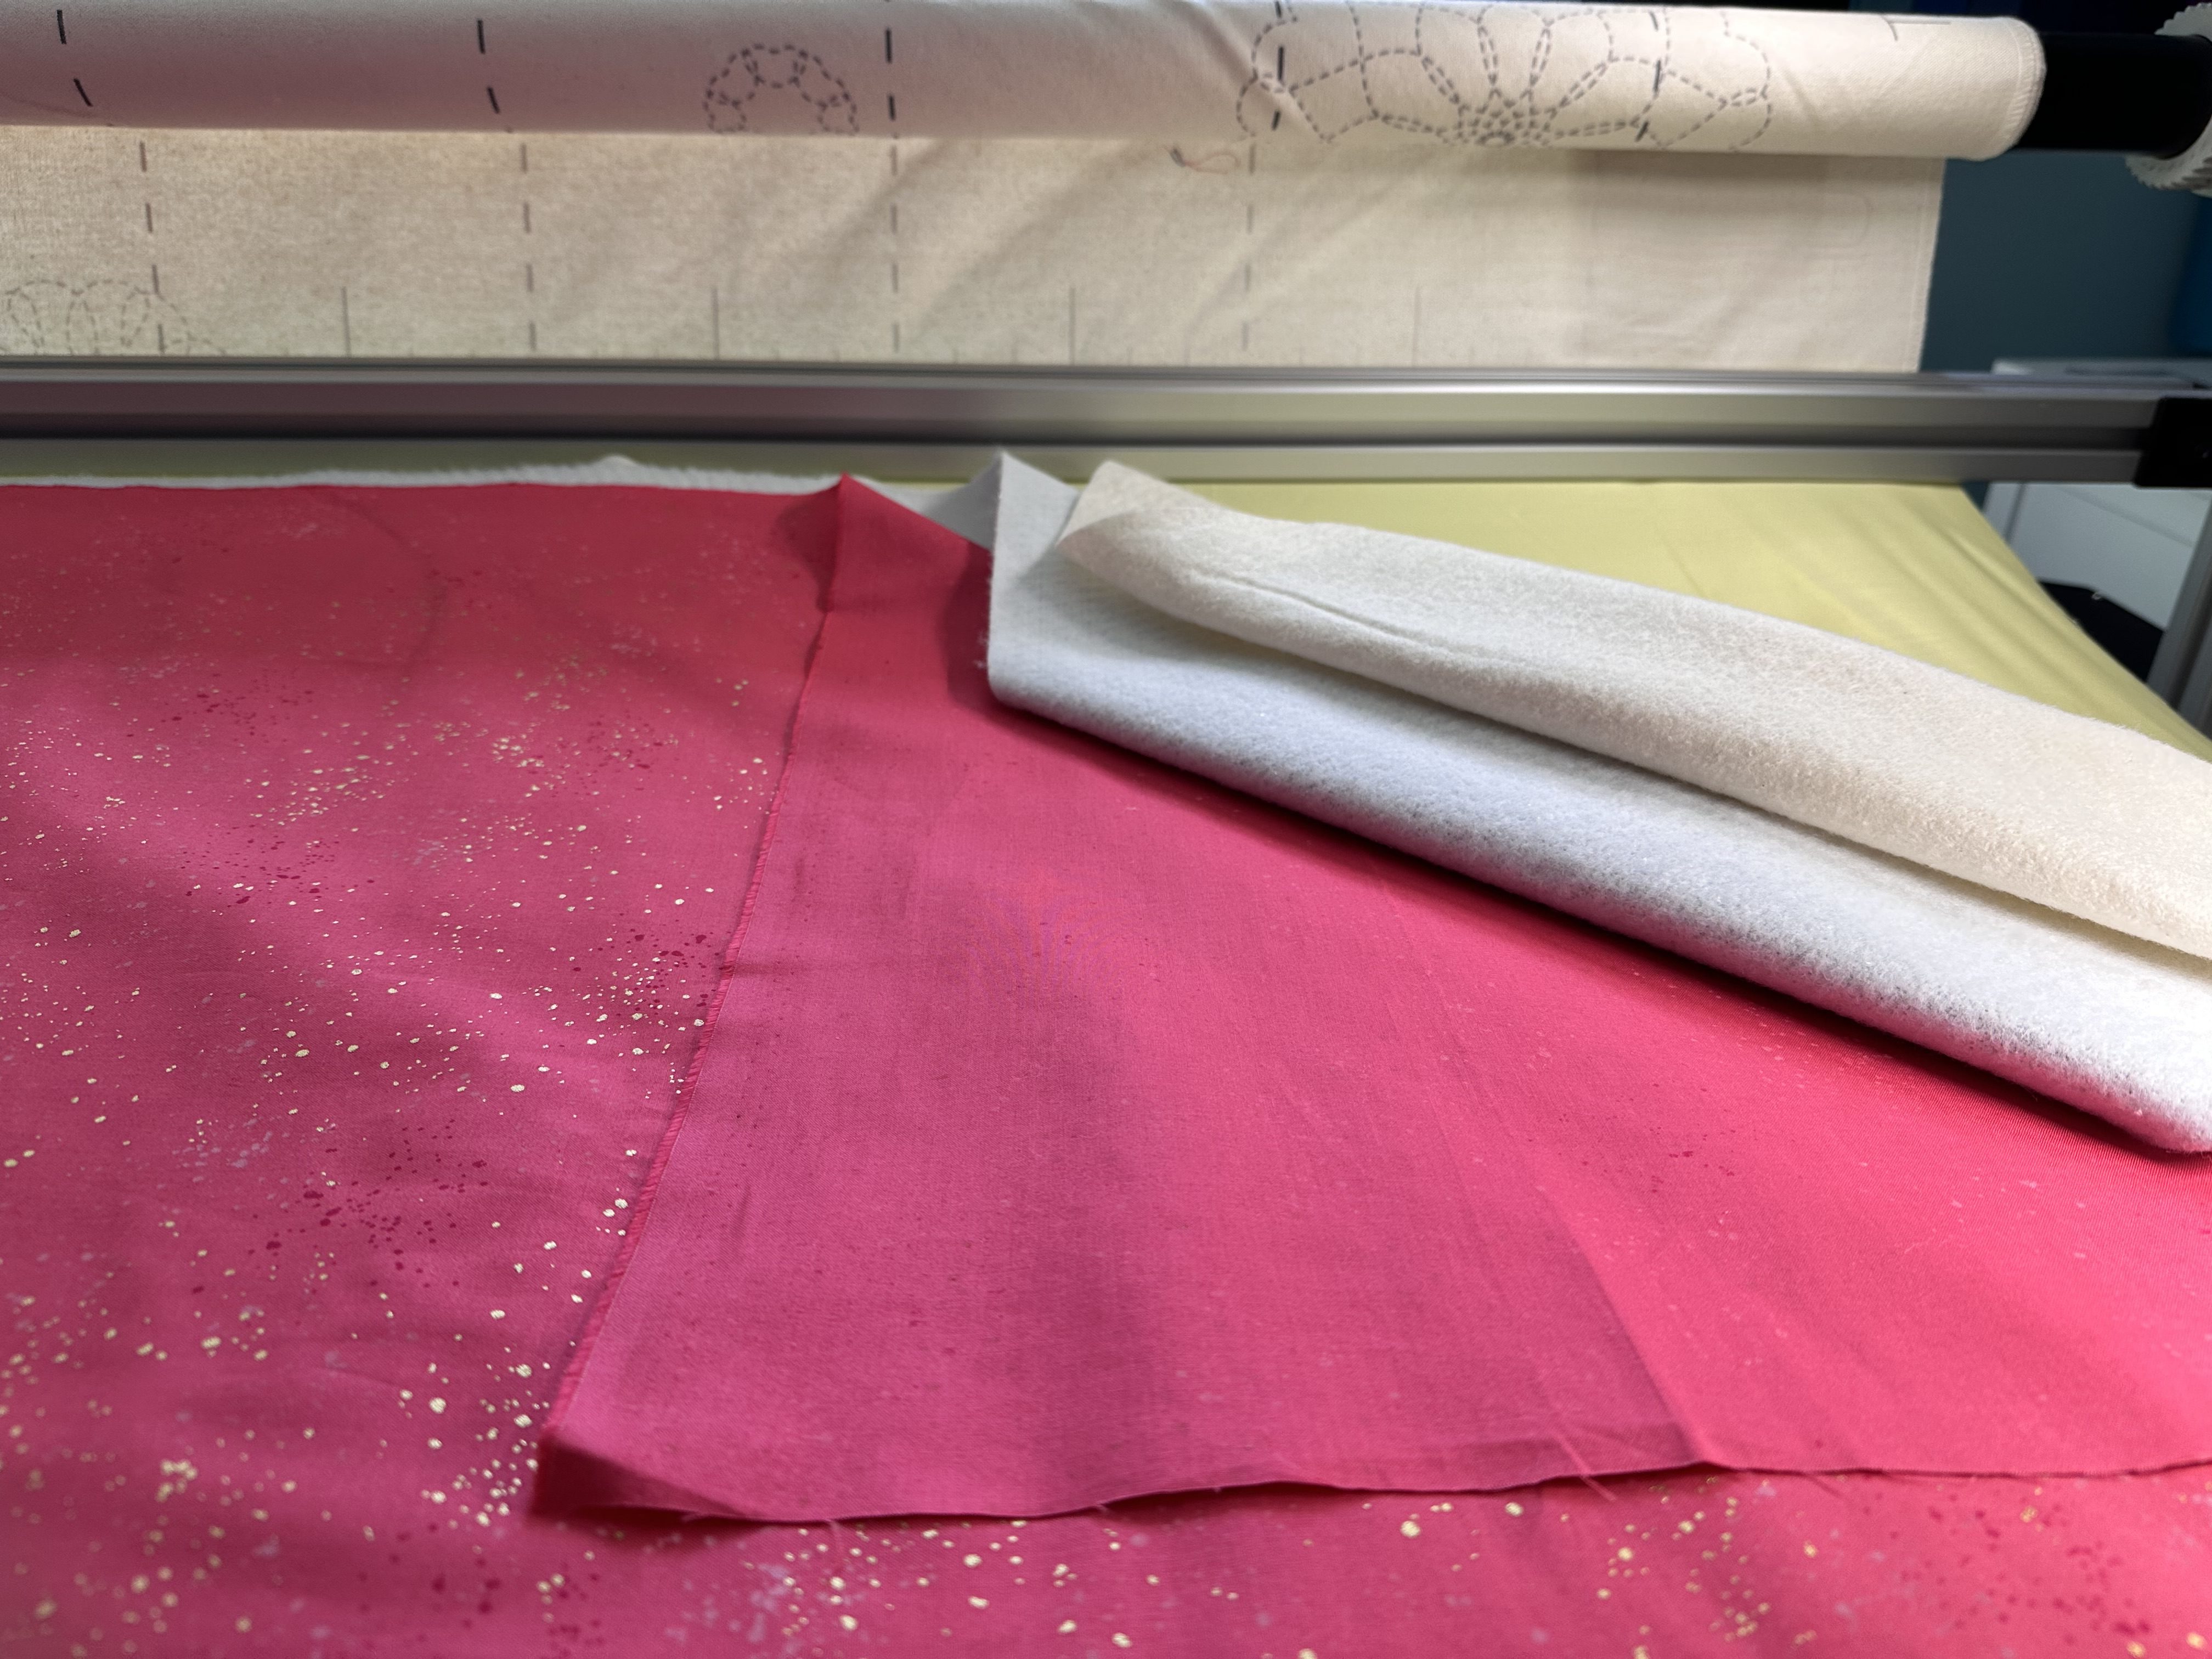
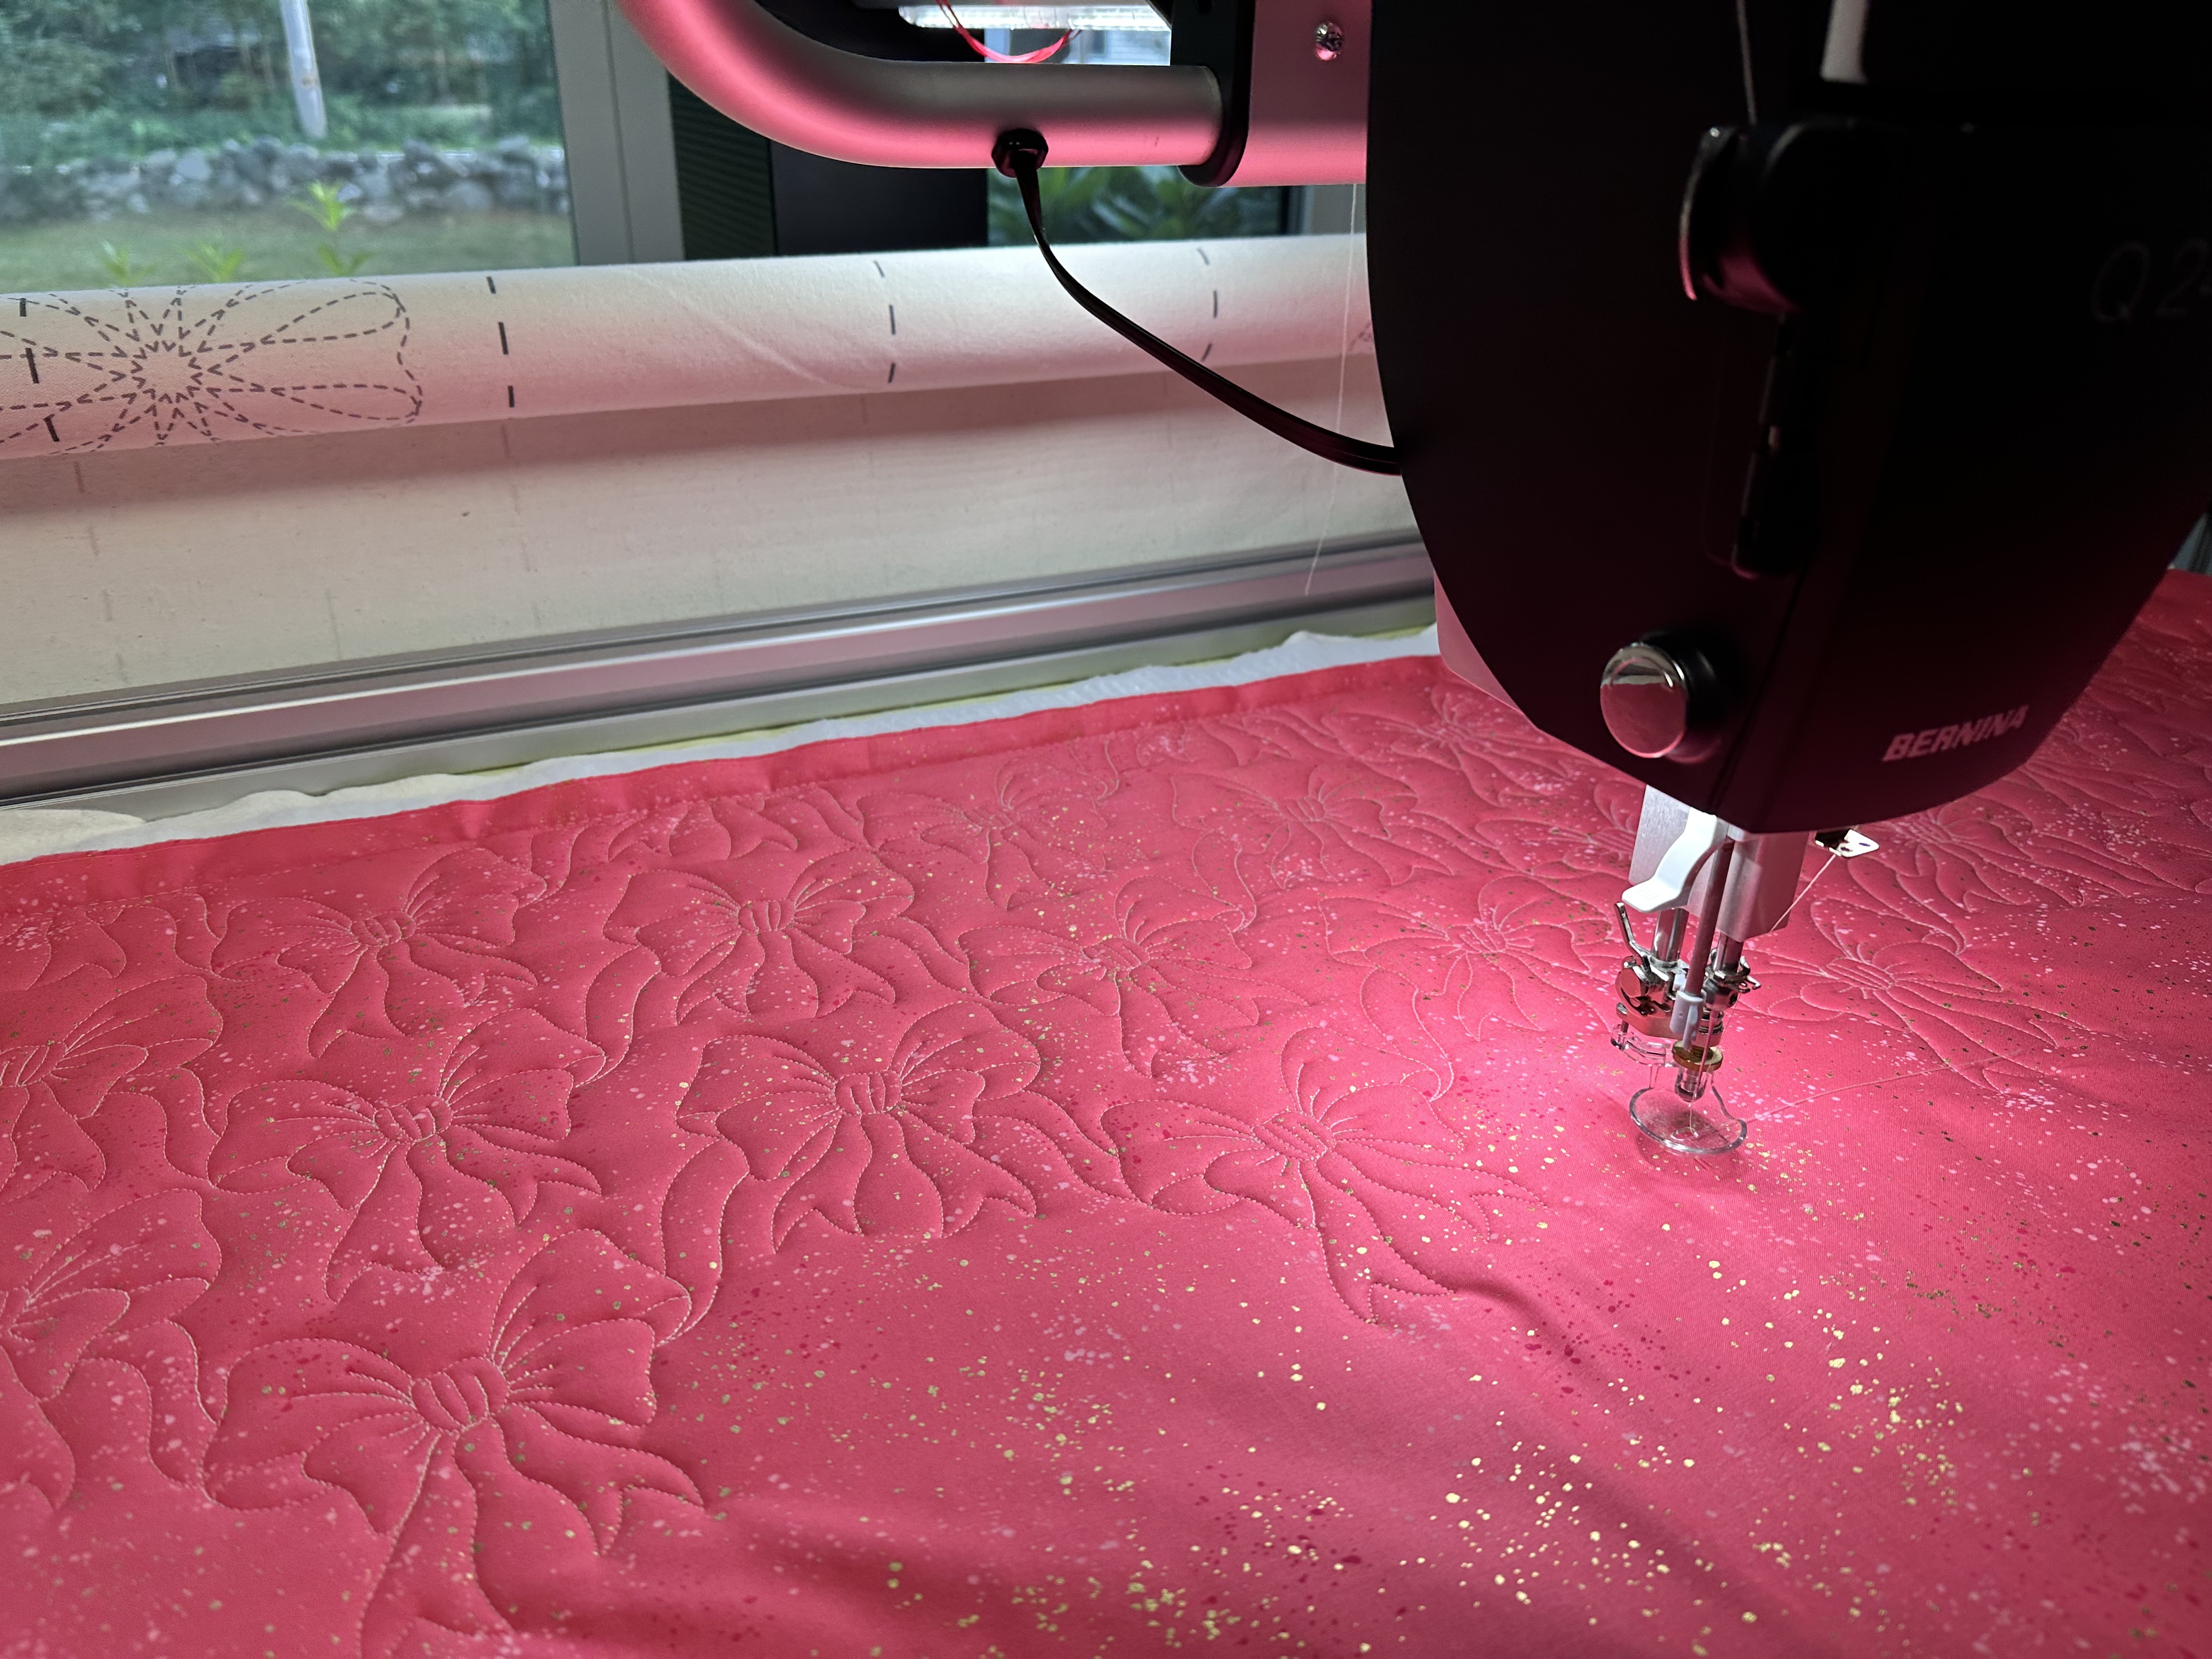
- Your first step in making your placemats is to quilt up your fabric. Refer to this blog about longarm quilting with insulated batting for tips and best practices. With this project, I recommend using both insulated batting and cotton batting vs. just the insulated batting.
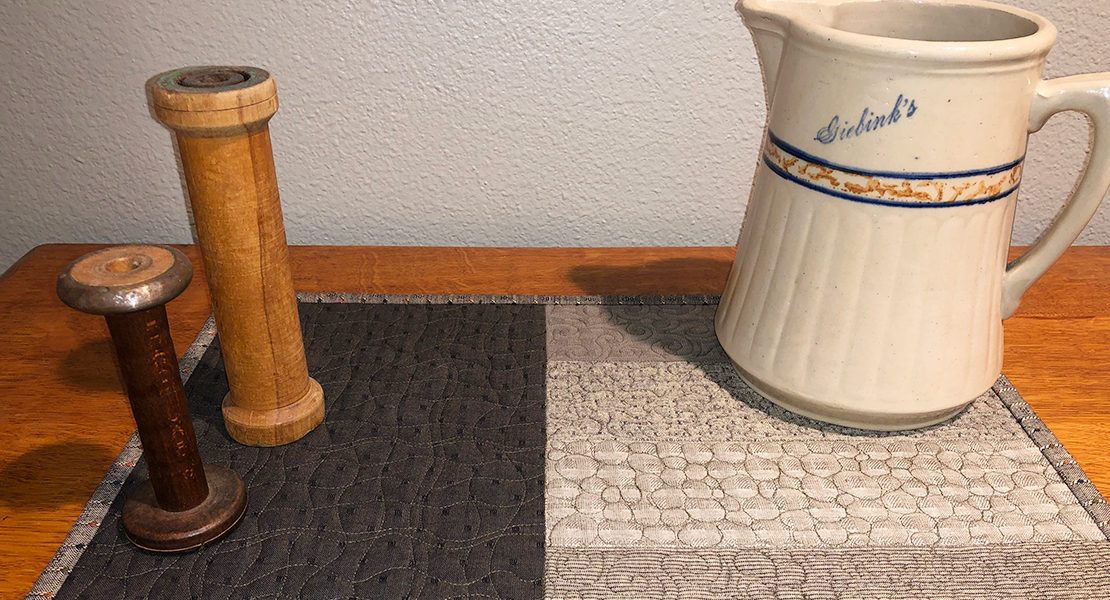
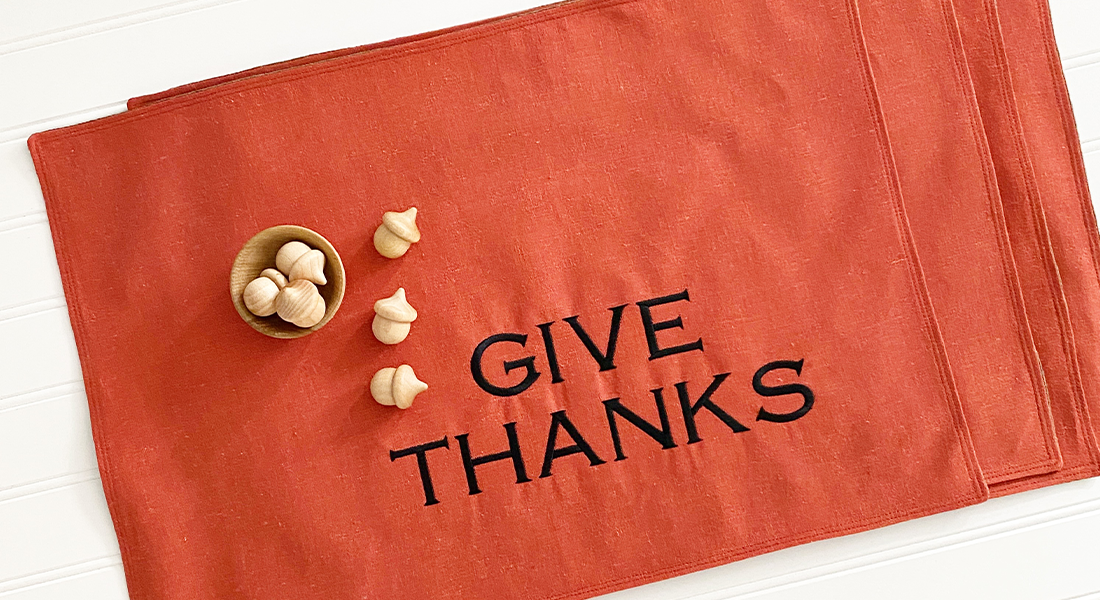
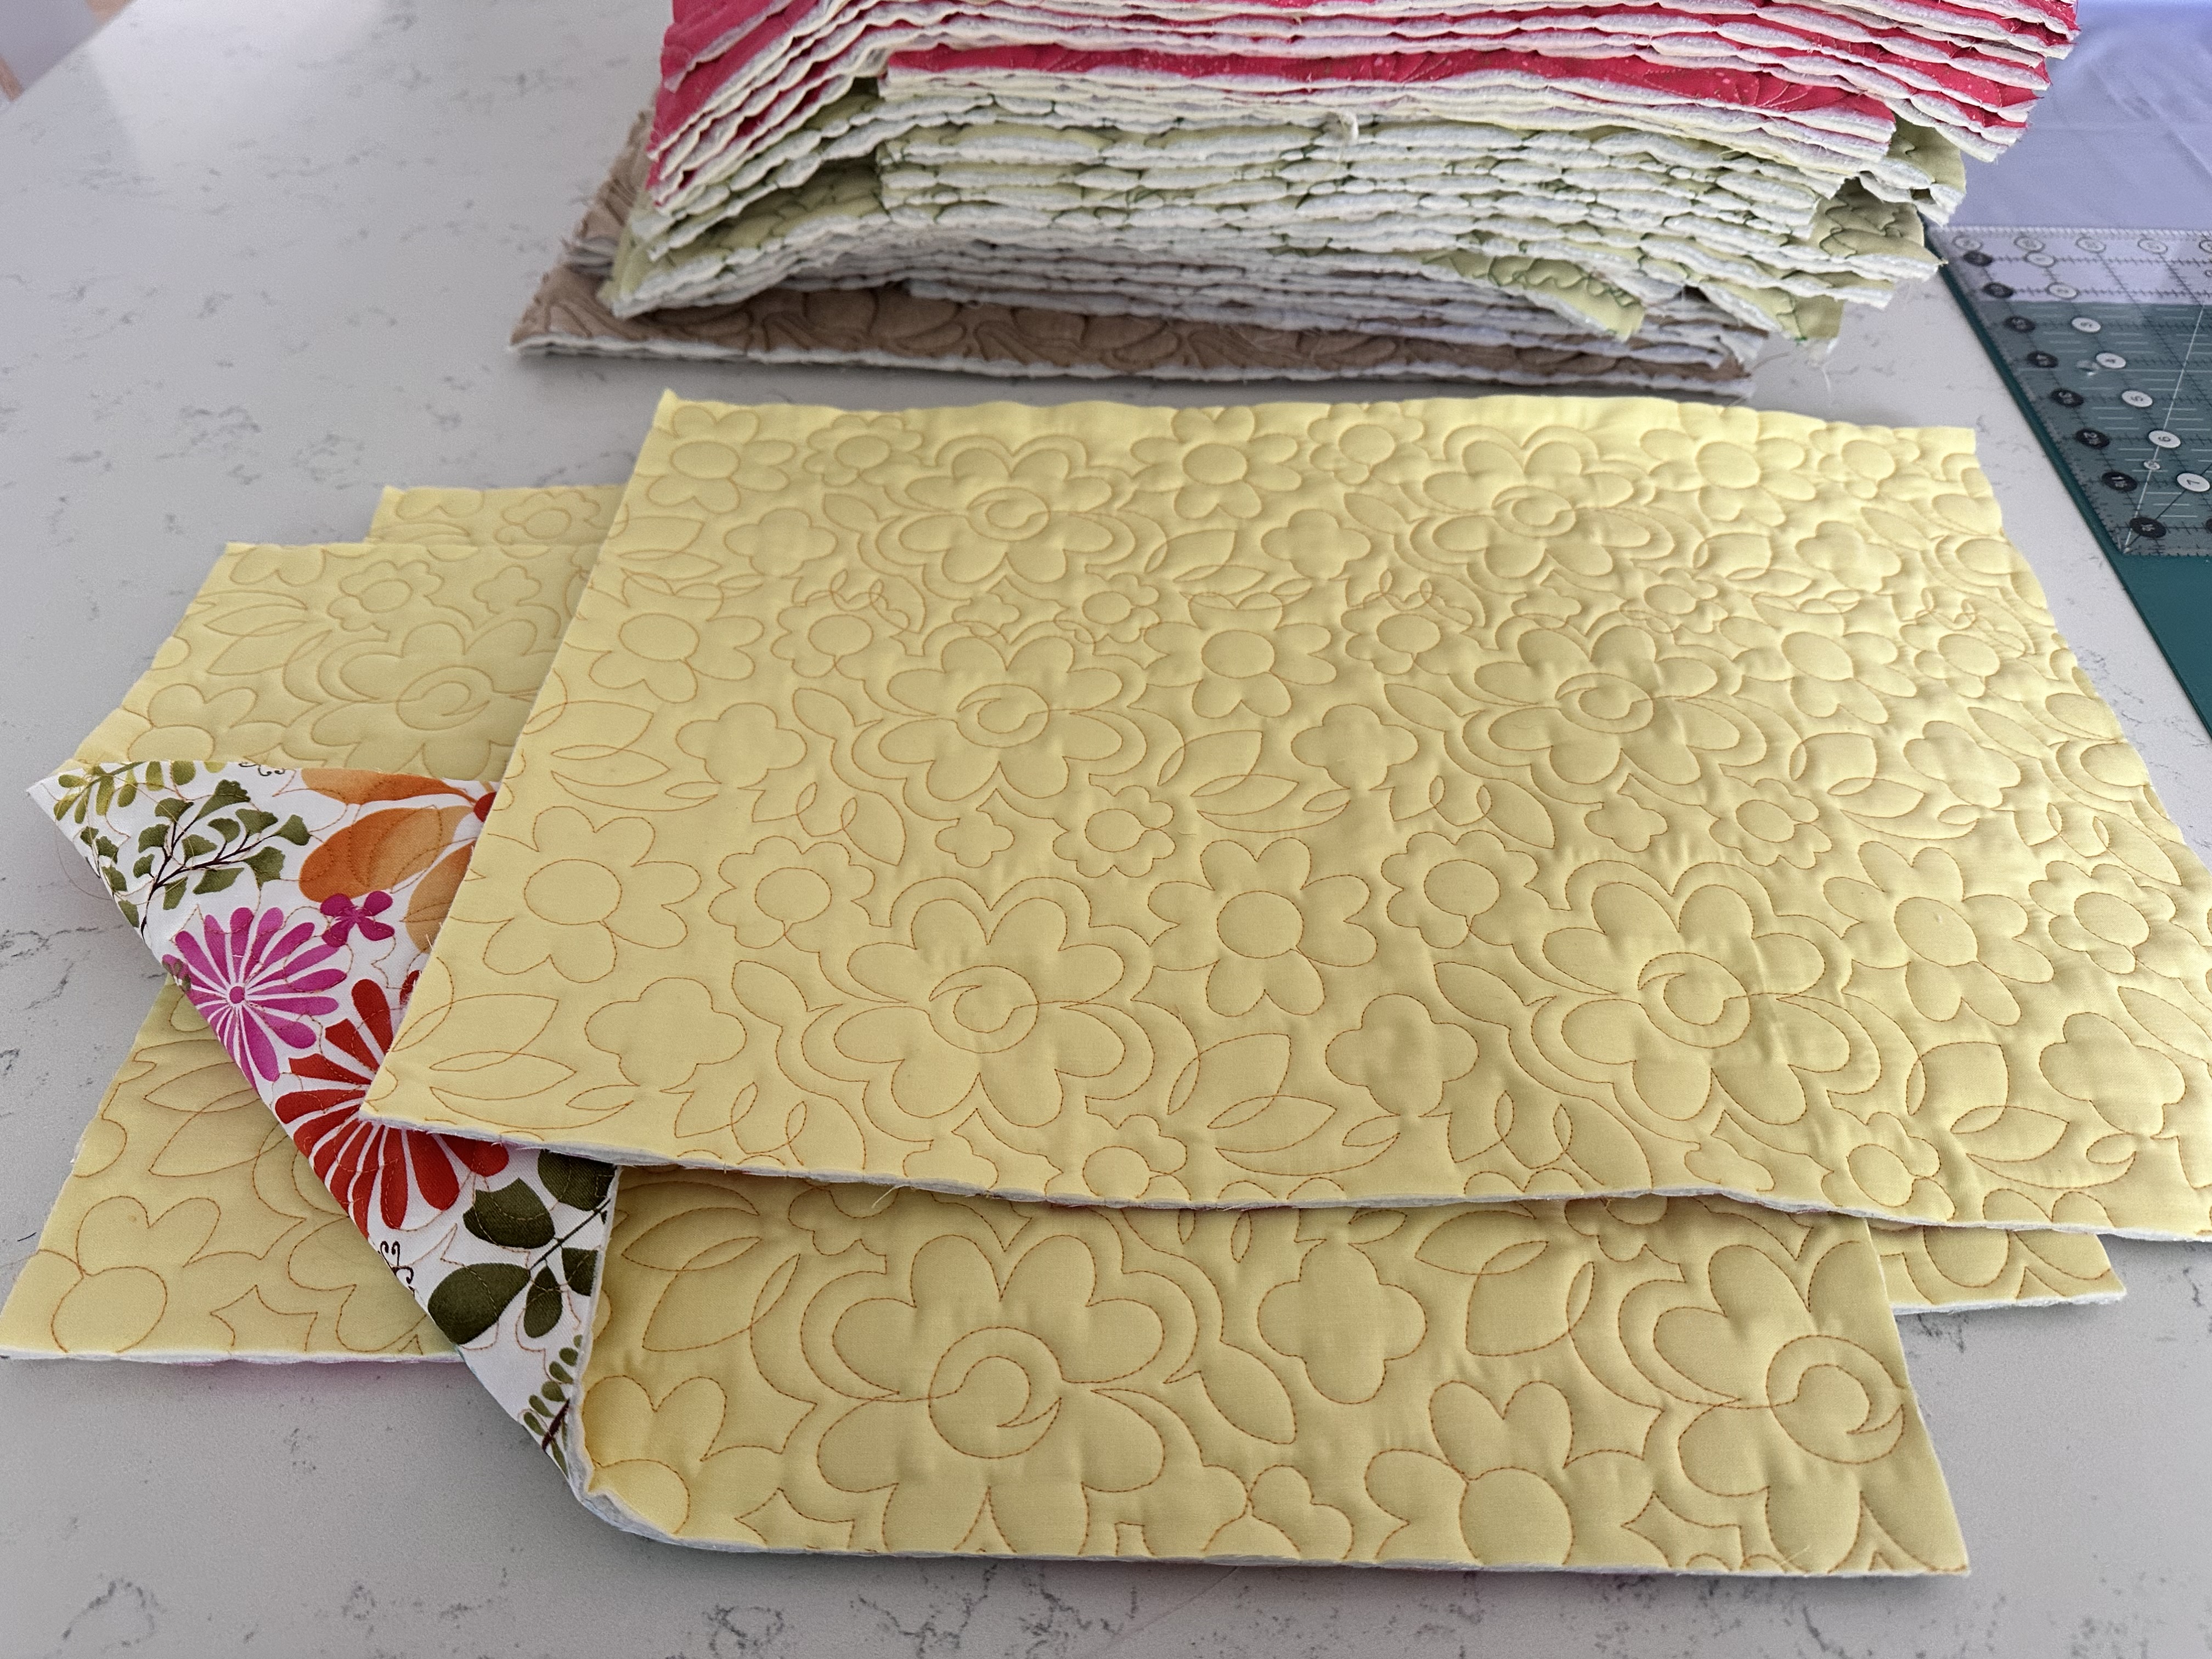
- Cut down your quilted fabric to 18″ x 12″ rectangles. If your quilting pattern or fabric print is directional, pay careful attention to how you cut your fabric. If your placemat is directional, make sure your height is the 12″ cut and the width is the 18″ width. (Note: 18″ x 12″ is a standard placemat size. You can adjust as necessary and make it longer for a table runner or enlarged to fit an oversized table.) You can see my giant stack of trimmed placemats in the background here as I cut and prep binding, just showing you how easy it is to quilt these up on the longarm for many great hostess, teacher, birthday, housewarming, and many other gifts.
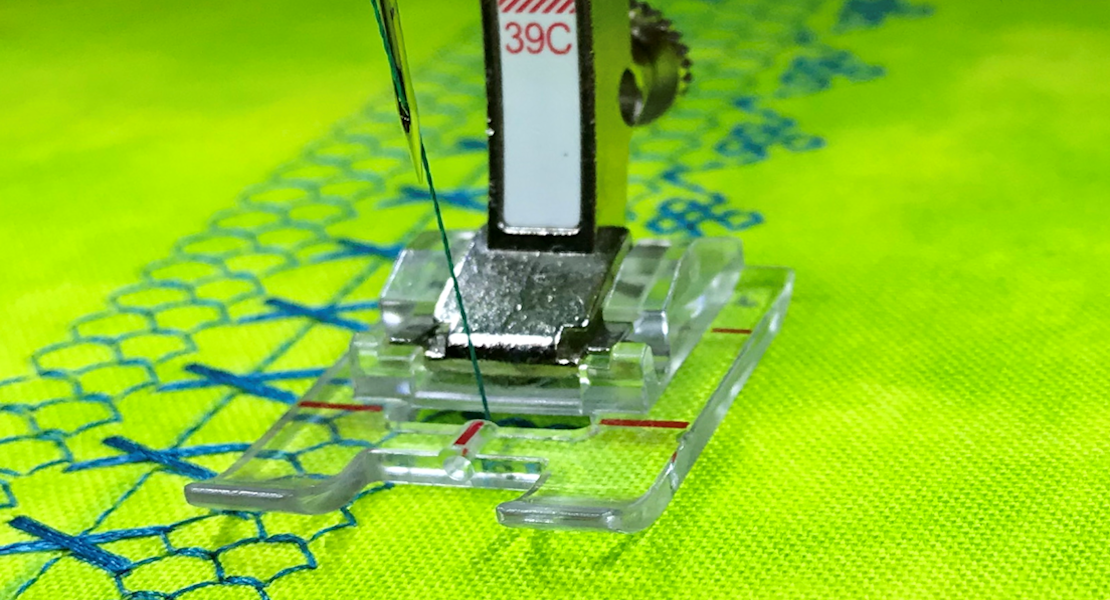
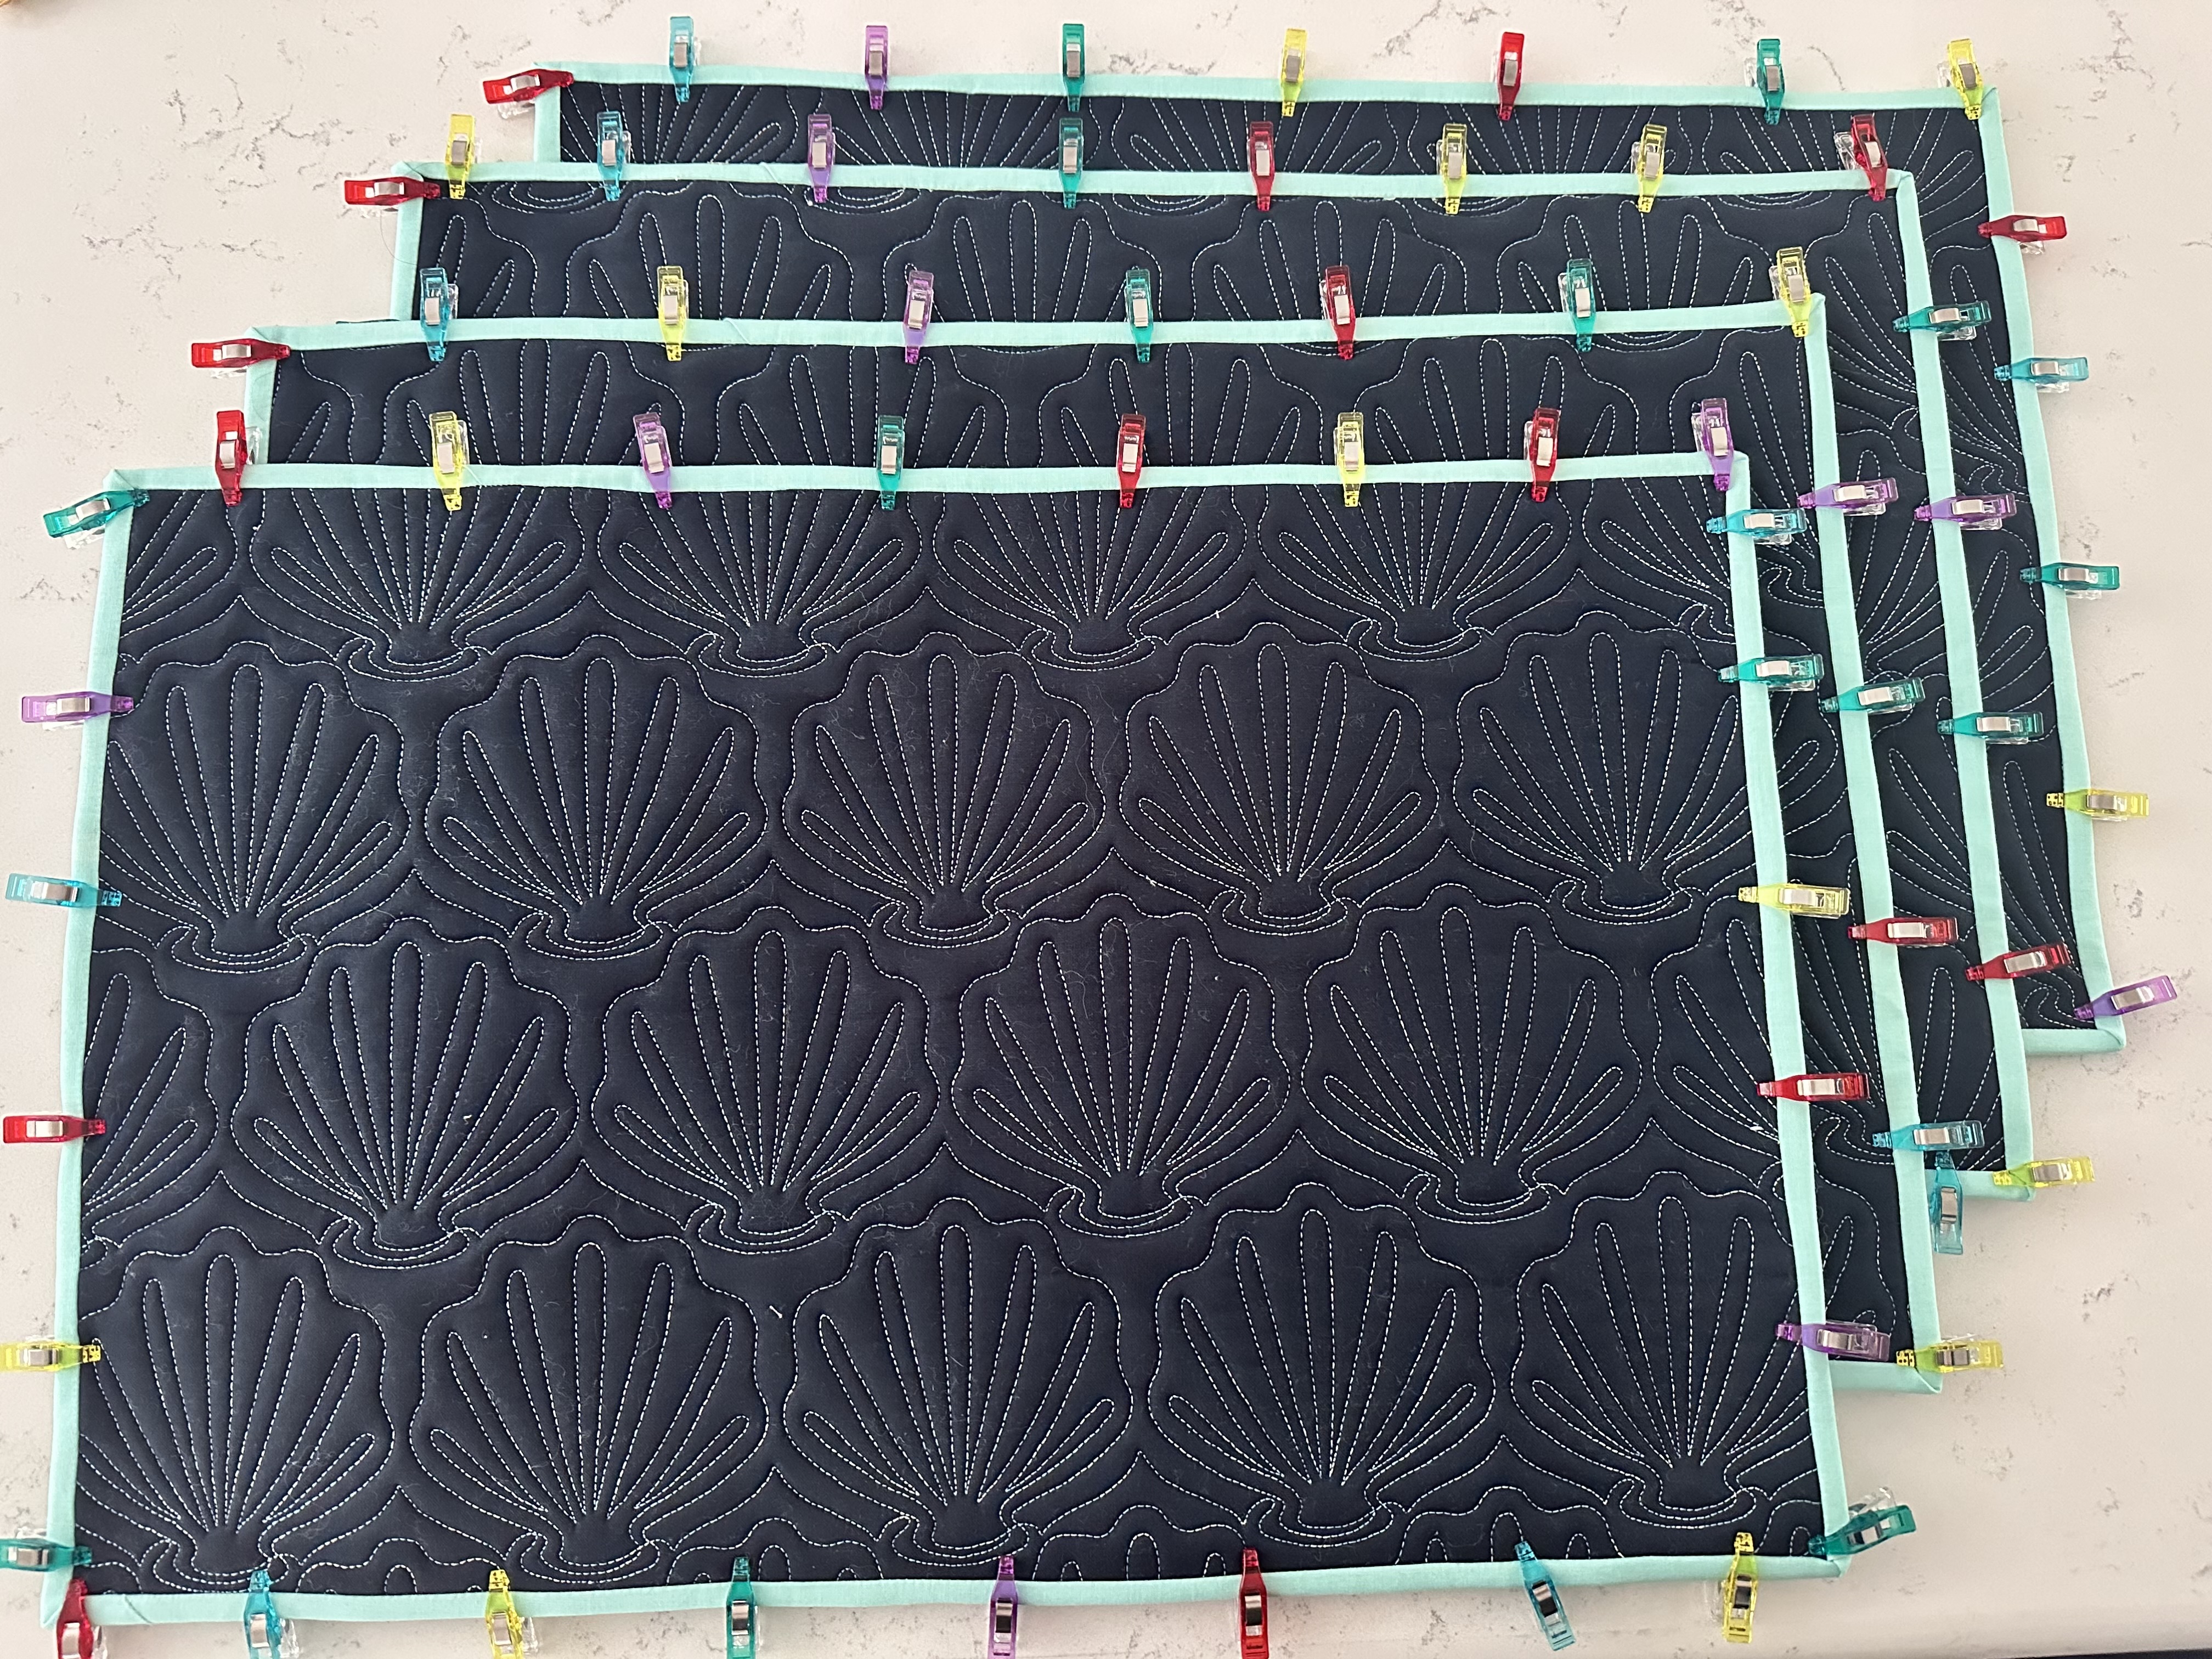
- Add your binding to the placemats using your preferred binding method. A binding foot attachment is on my wishlist for projects like these, but for my placemats I simply attached the binding to the front of the placemats by machine and hand stitched the binding on the back. If you prefer machine binding entirely, this would be the perfect project for machine binding. (Tip: I like using a contrasting fabric color for the binding to make the placemats pop a bit.)
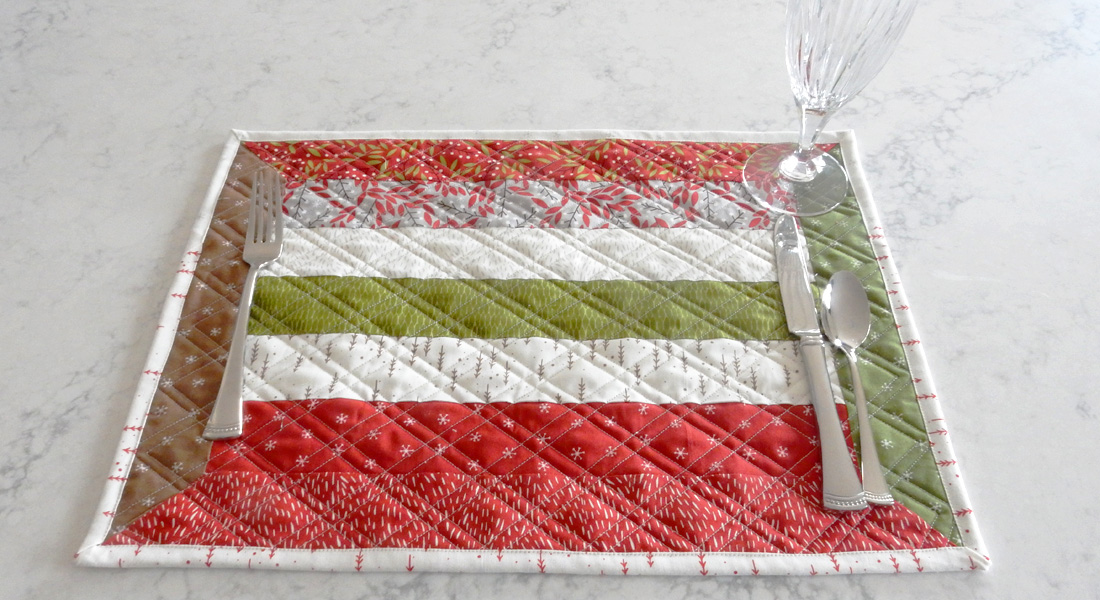
- Set your table and enjoy!
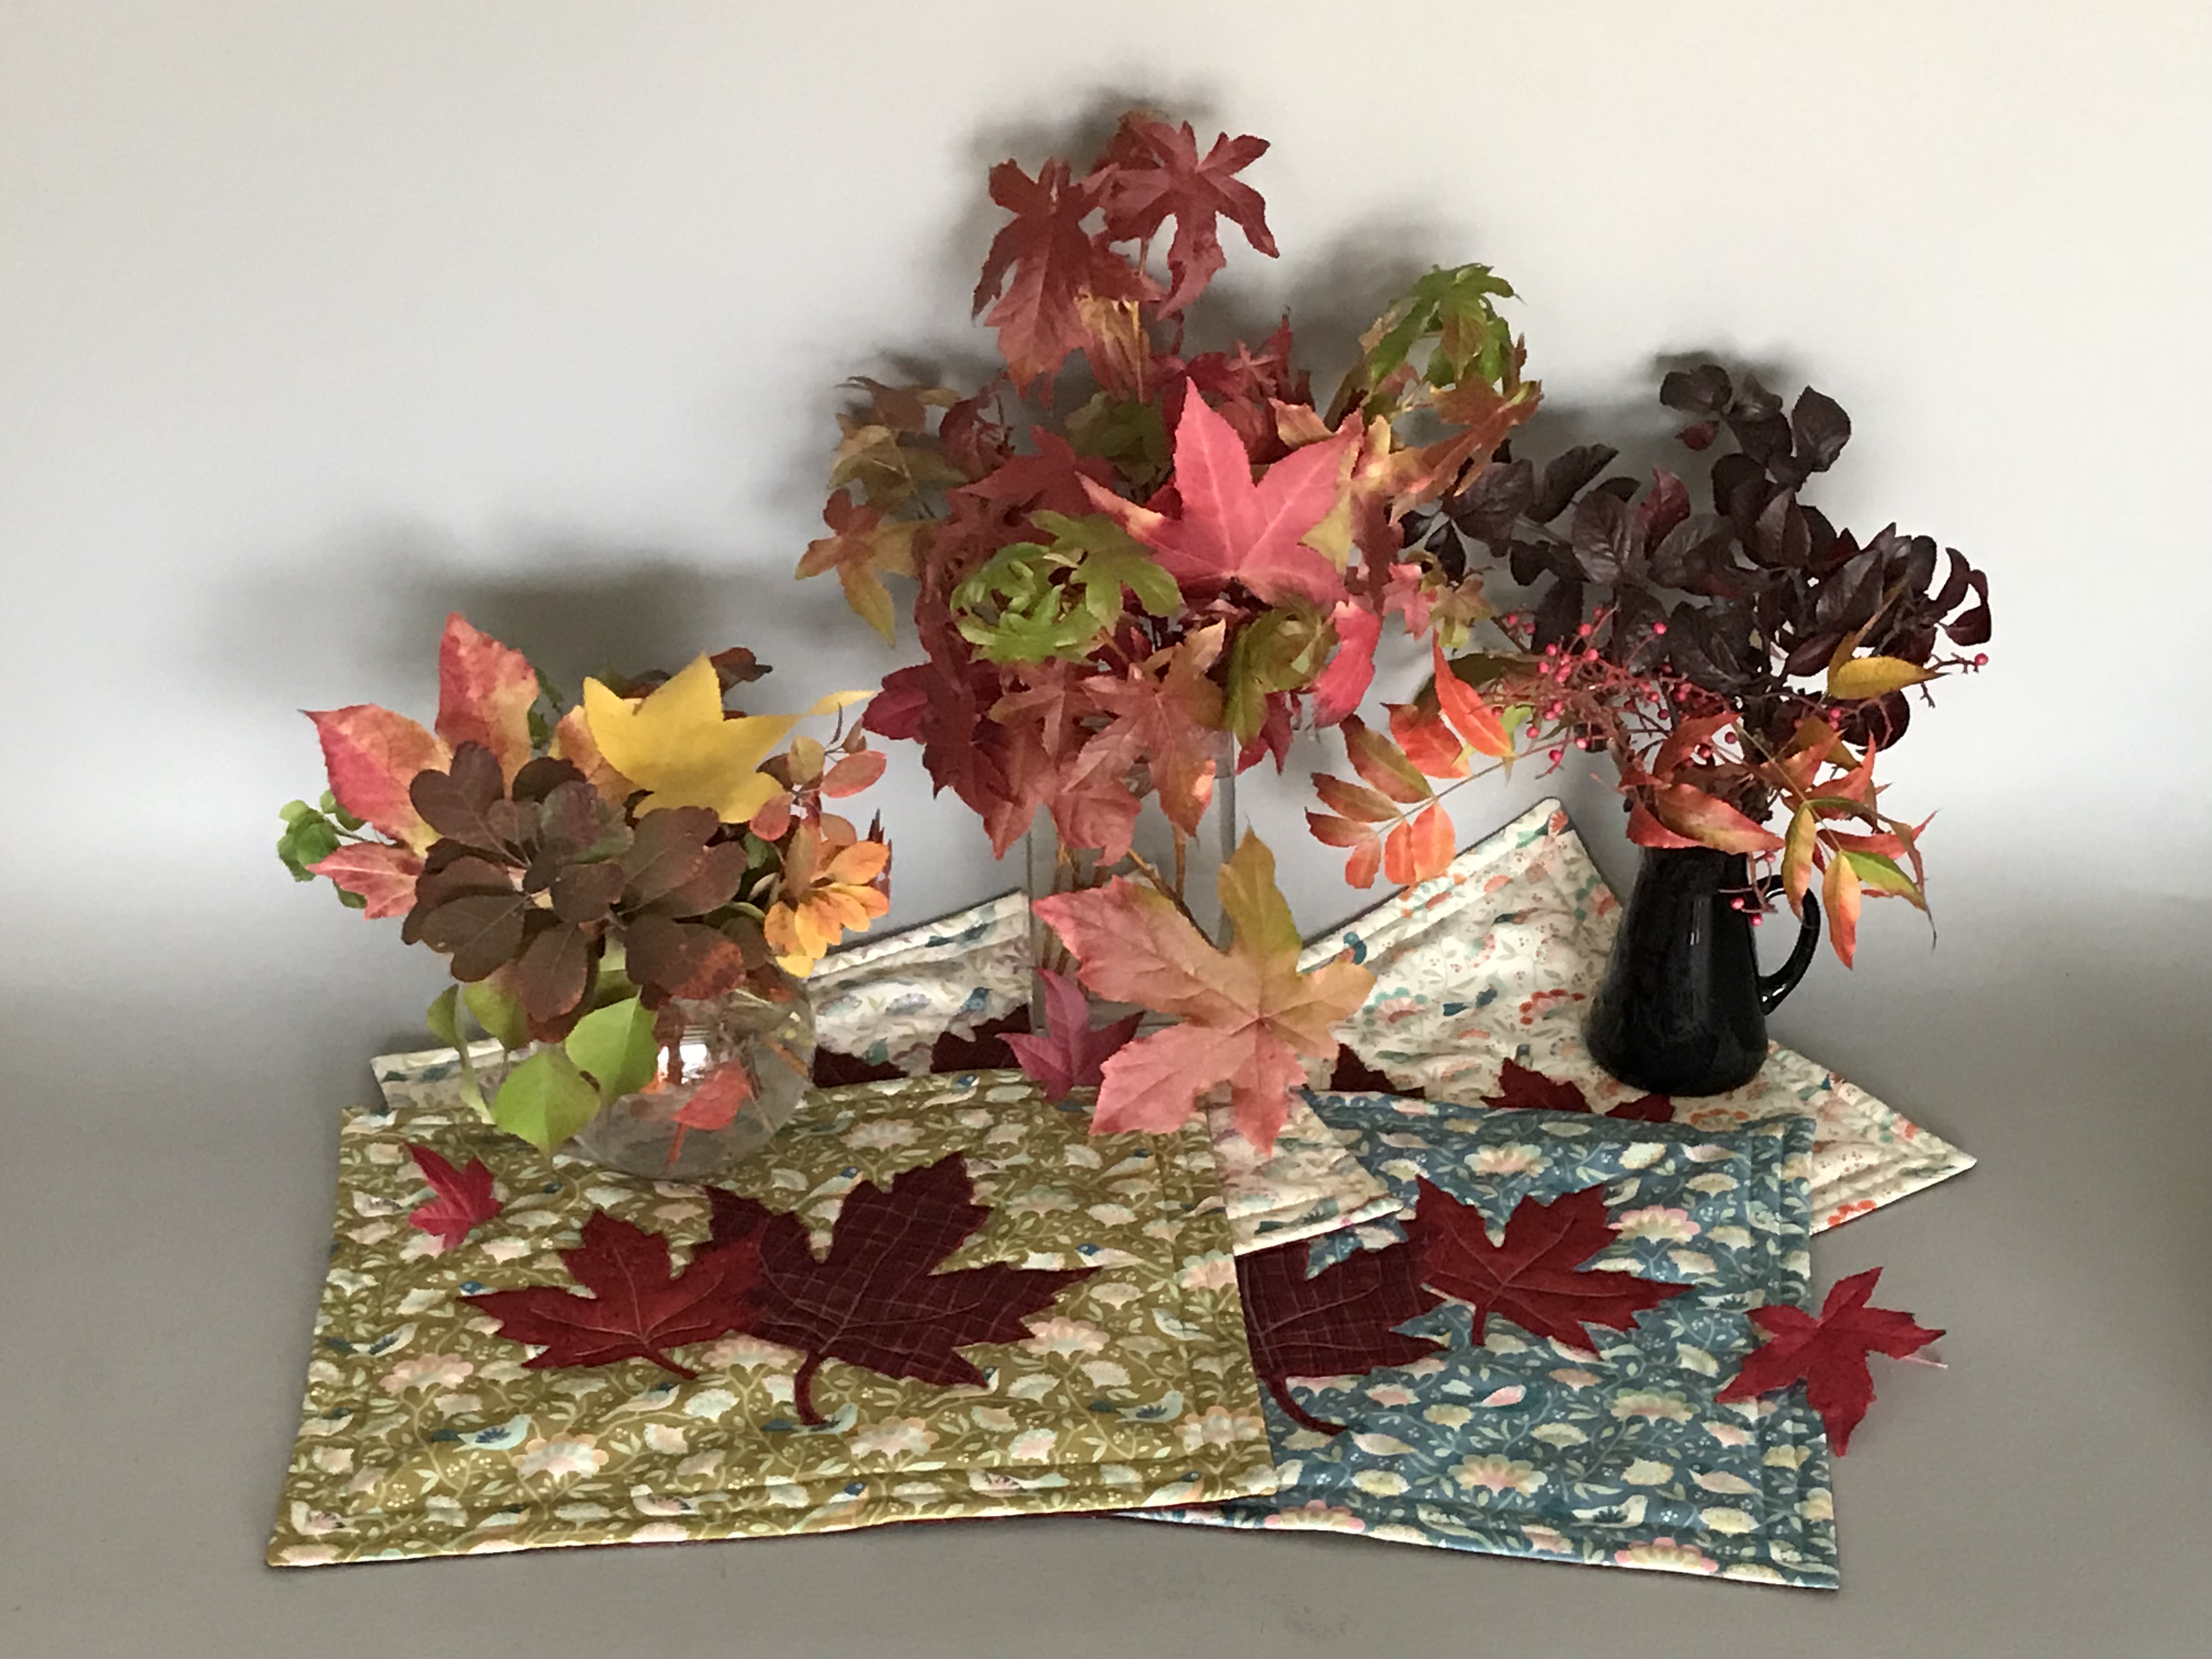
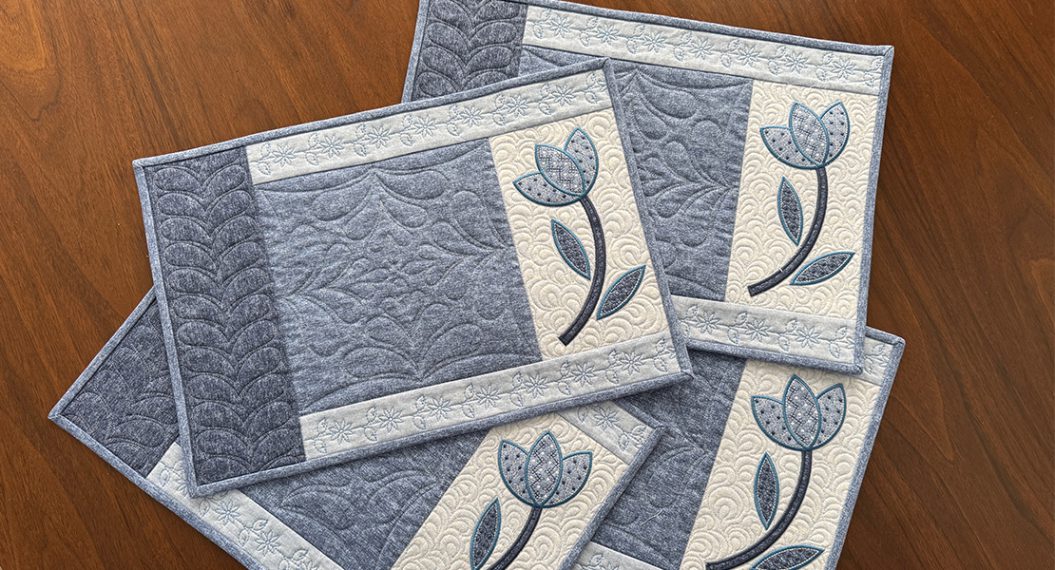
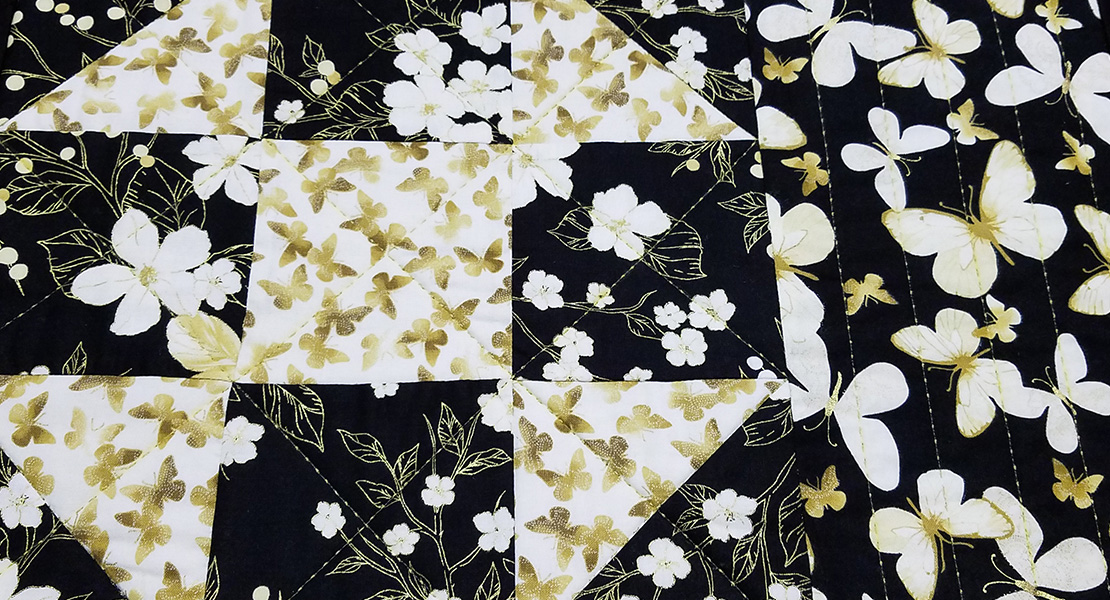
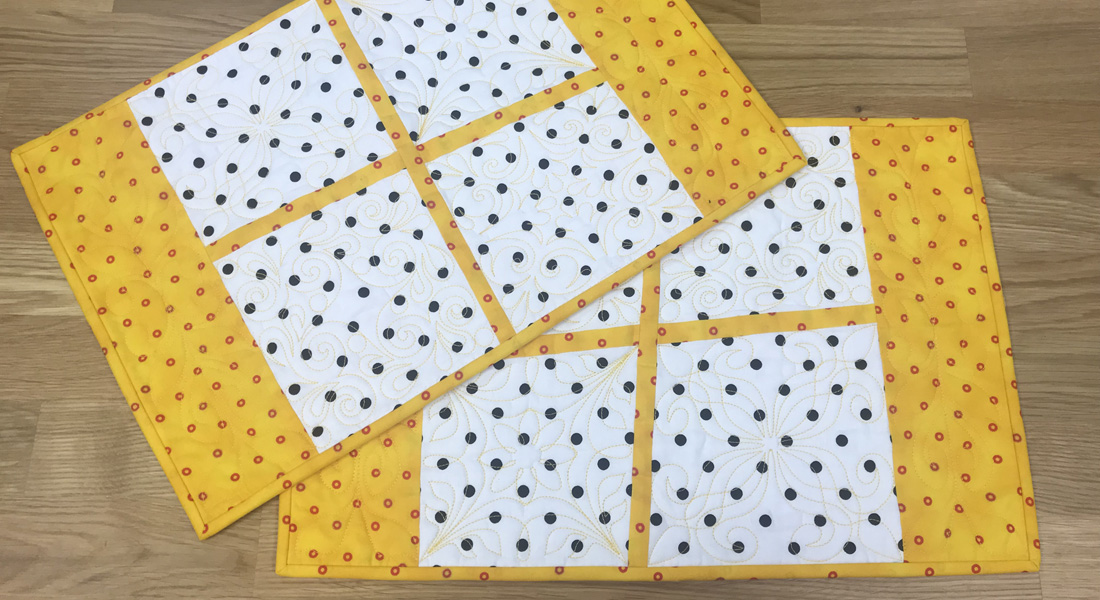
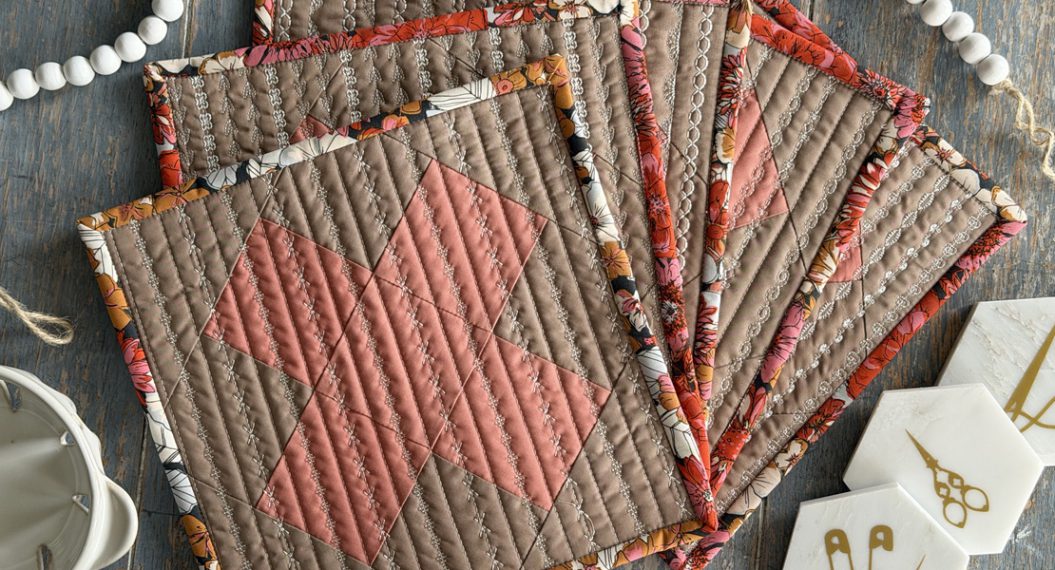
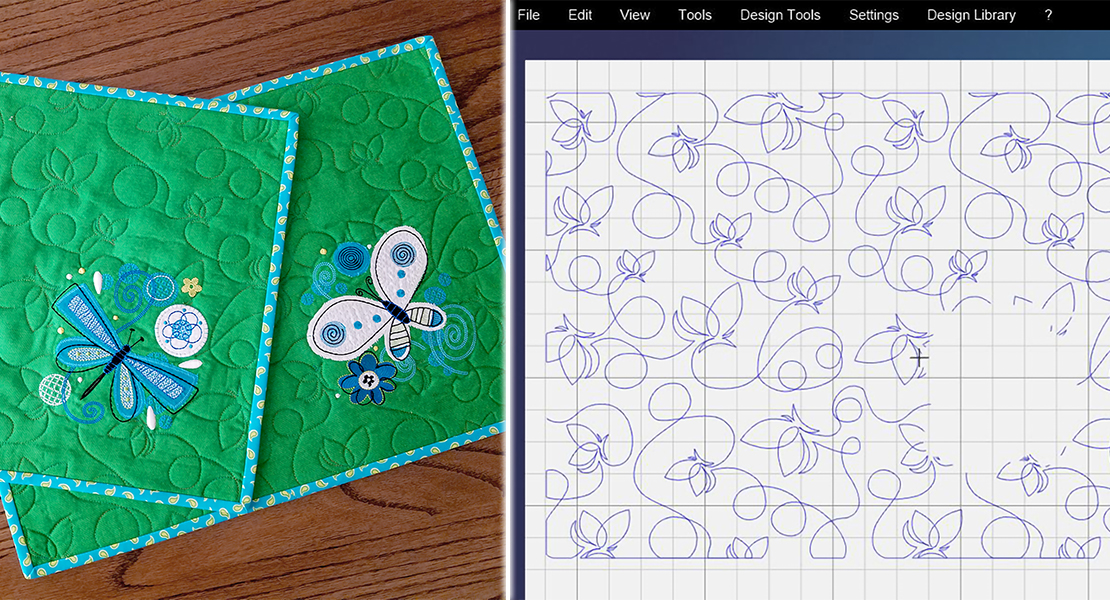
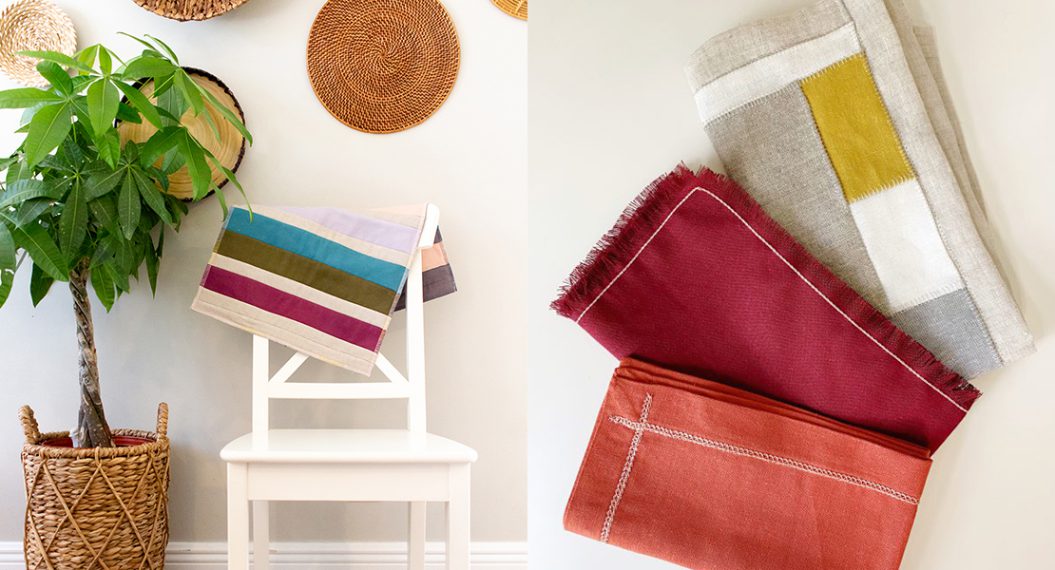
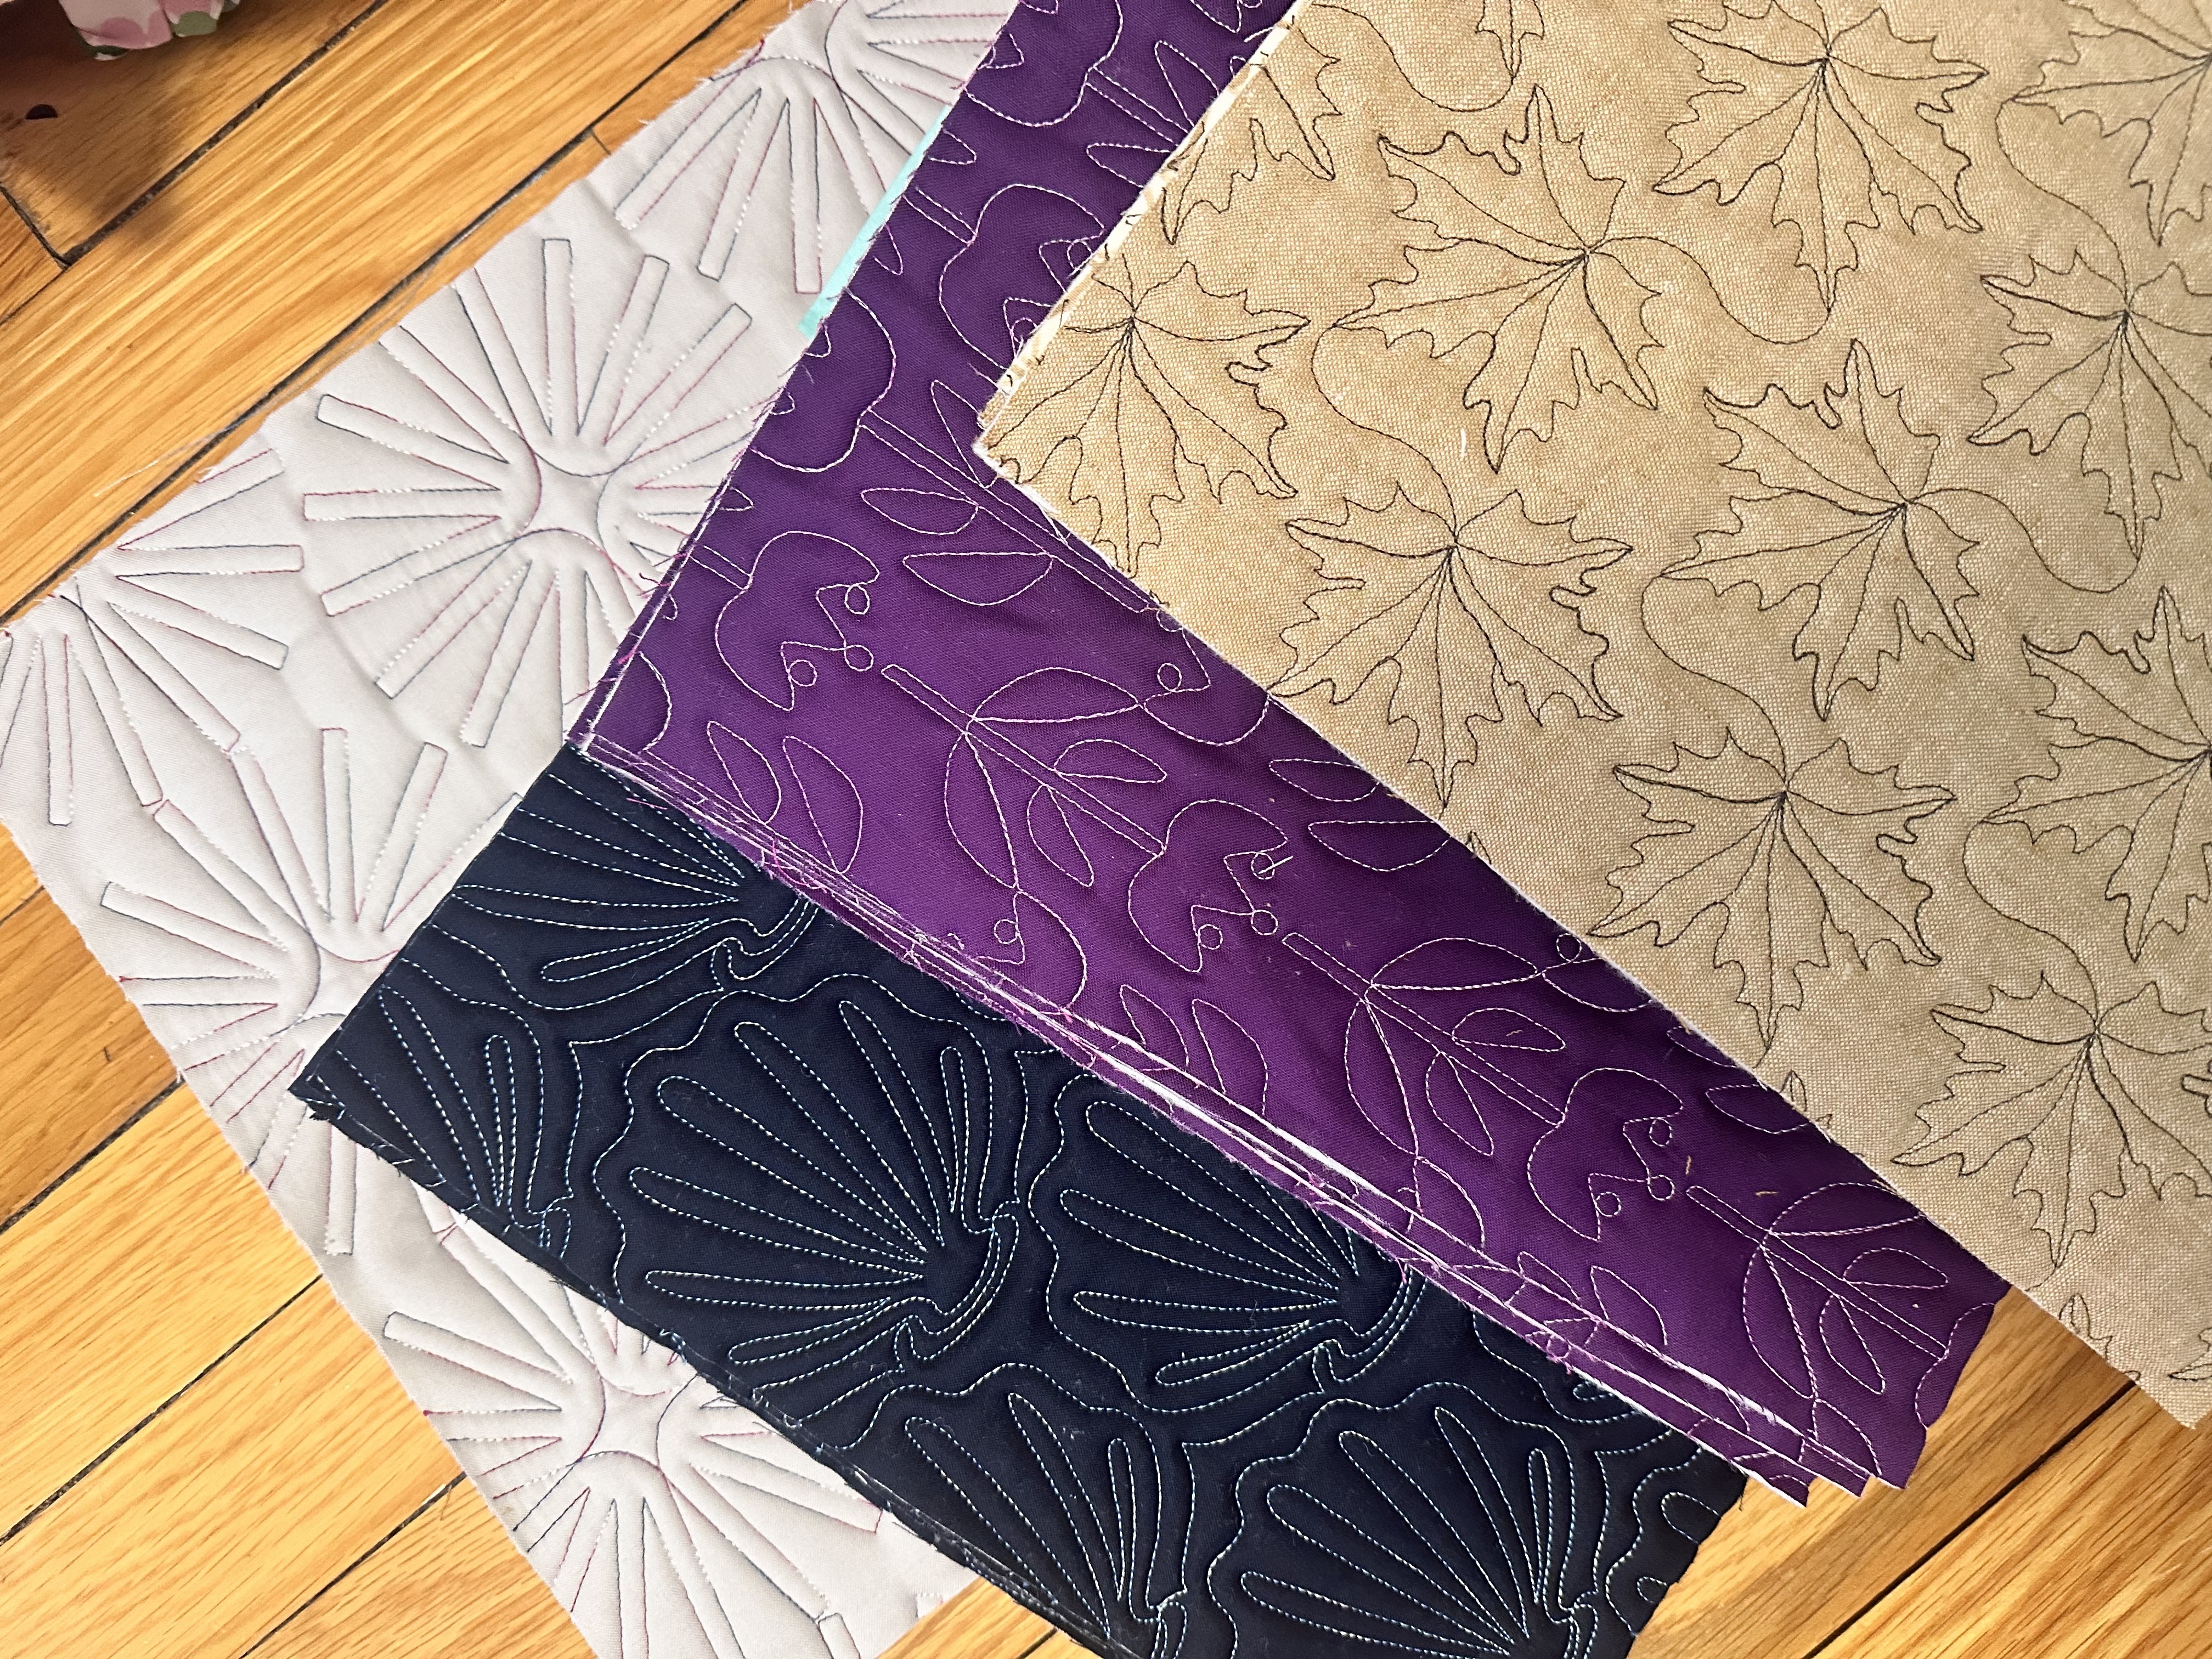
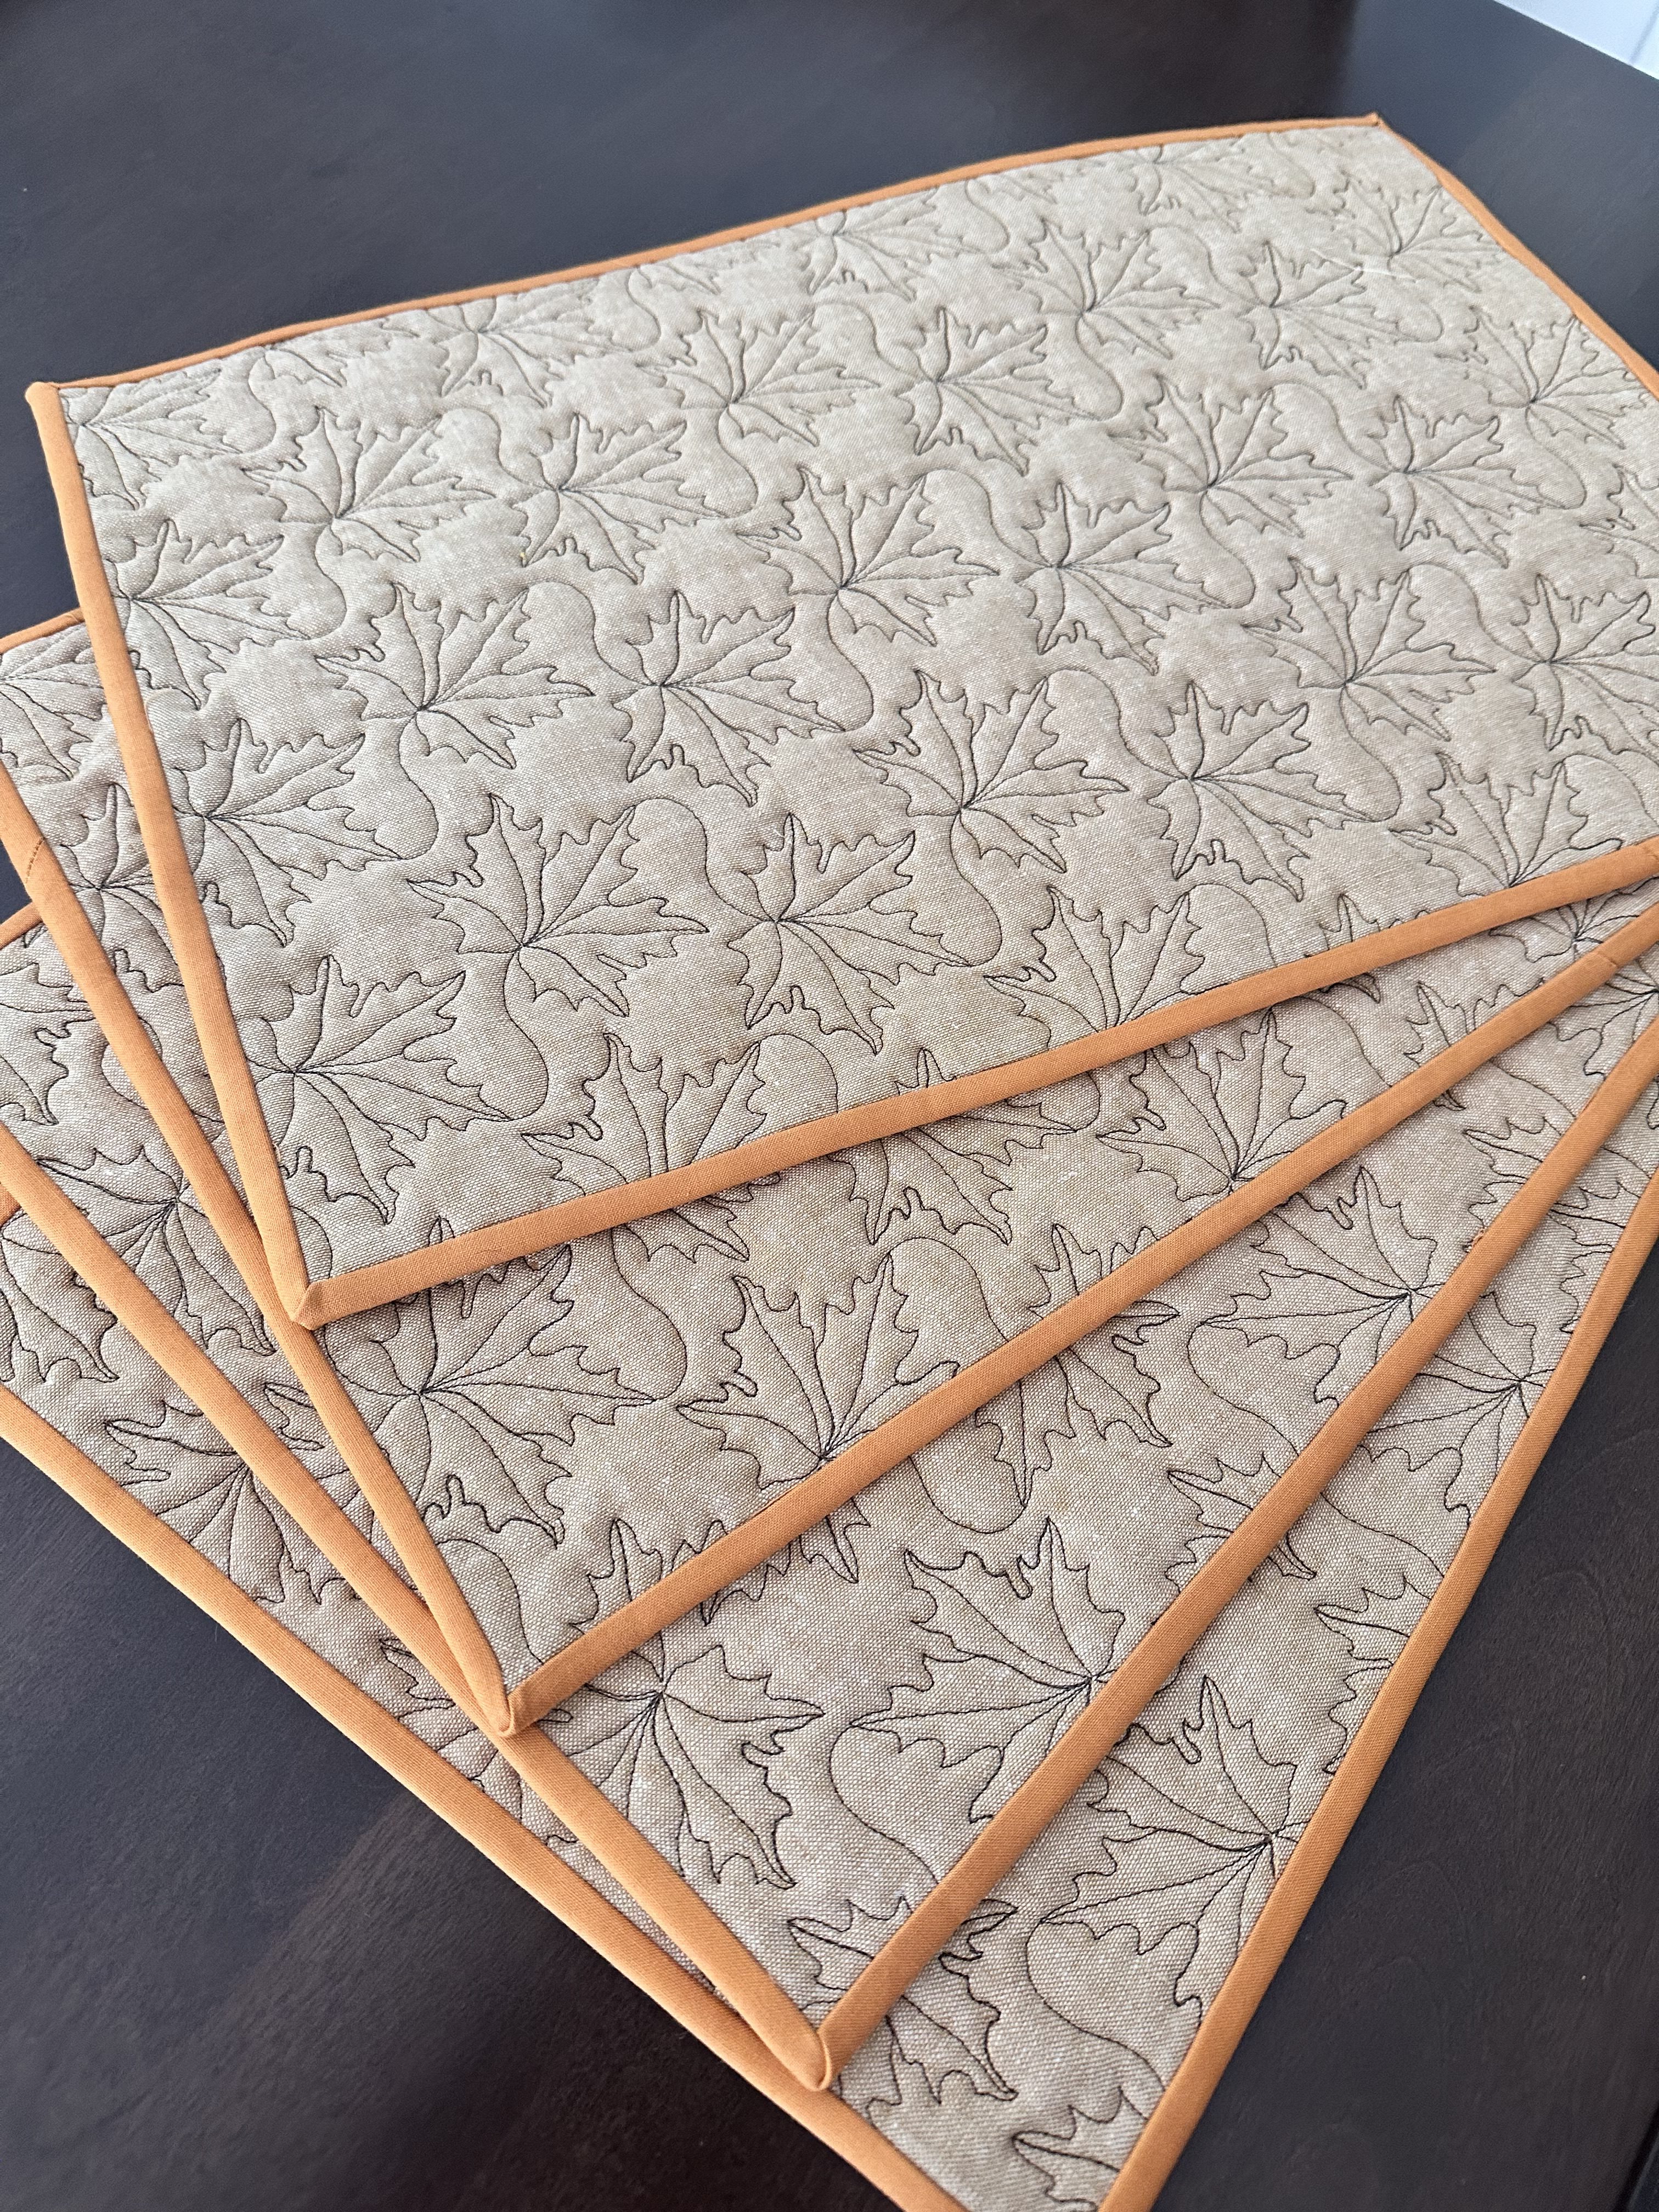 These quilted placemats are just the beginning of what you can make with insulated batting. What if you used some embroidered fabric? Or perhaps used some leftover pieced blocks? And given the nature of how these are constructed, they’re essentially reversible, so you can use a print on one side and a solid on the other for two different looks. Or two different solids with the same thread to have one side be more bold and the other more subtle. And you can tell based on the multiple examples in this tutorial that I’m quickly making many different placemats for different occasions… seasons, celebrations, sporting events, and just because. Below are just a few placemats I was working on, patiently waiting for their binding in this picture. The options are endless.
Let us know in the comments below what kind of placemat or table runner you’d make with this technique.