BRAugust Sew Along, Part One: Non-Wired Bra

If you’ve been wanting to sew a non-wired bra and matching panty, here’s your chance — a step-by-step tutorial covering everything from shopping for fabric and supplies to the final stitch. Make it today, wear it tomorrow!
Plus, stay tuned for a live session where we’ll sew these garments together, virtually, in community.
Pattern & Fabrics Needed
- Pattern: available here
- Pattern sizes are A – GG – PDF Downloadable
- Fabrics can be stretch and non-stretch, including main fabric and lining fabrics, and custom bra/panty kits are available at BraBuilders.com
Materials Needed to Make the Lotus Bra
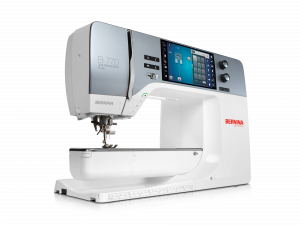
- Your BERNINA or bernette, of course!
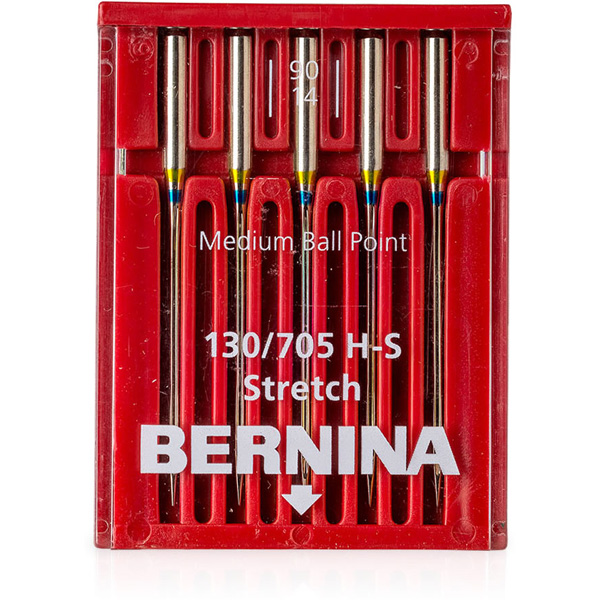
- Microtex 80/12 or Super Fine 70/10 Needles
- Polyester Thread
- measuring tools
The main stitching techniques are a regular zigzag or 3-step zigzag stitch and straight stitching. A quarter-inch seam allowance is what is common in lingerie making, so a quarter-inch presser foot is a bonus.
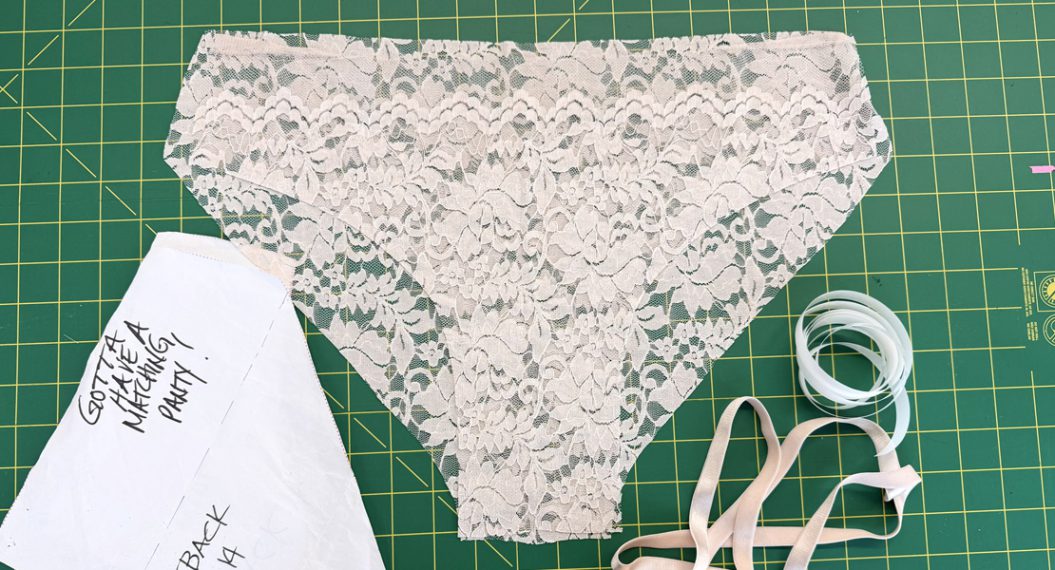
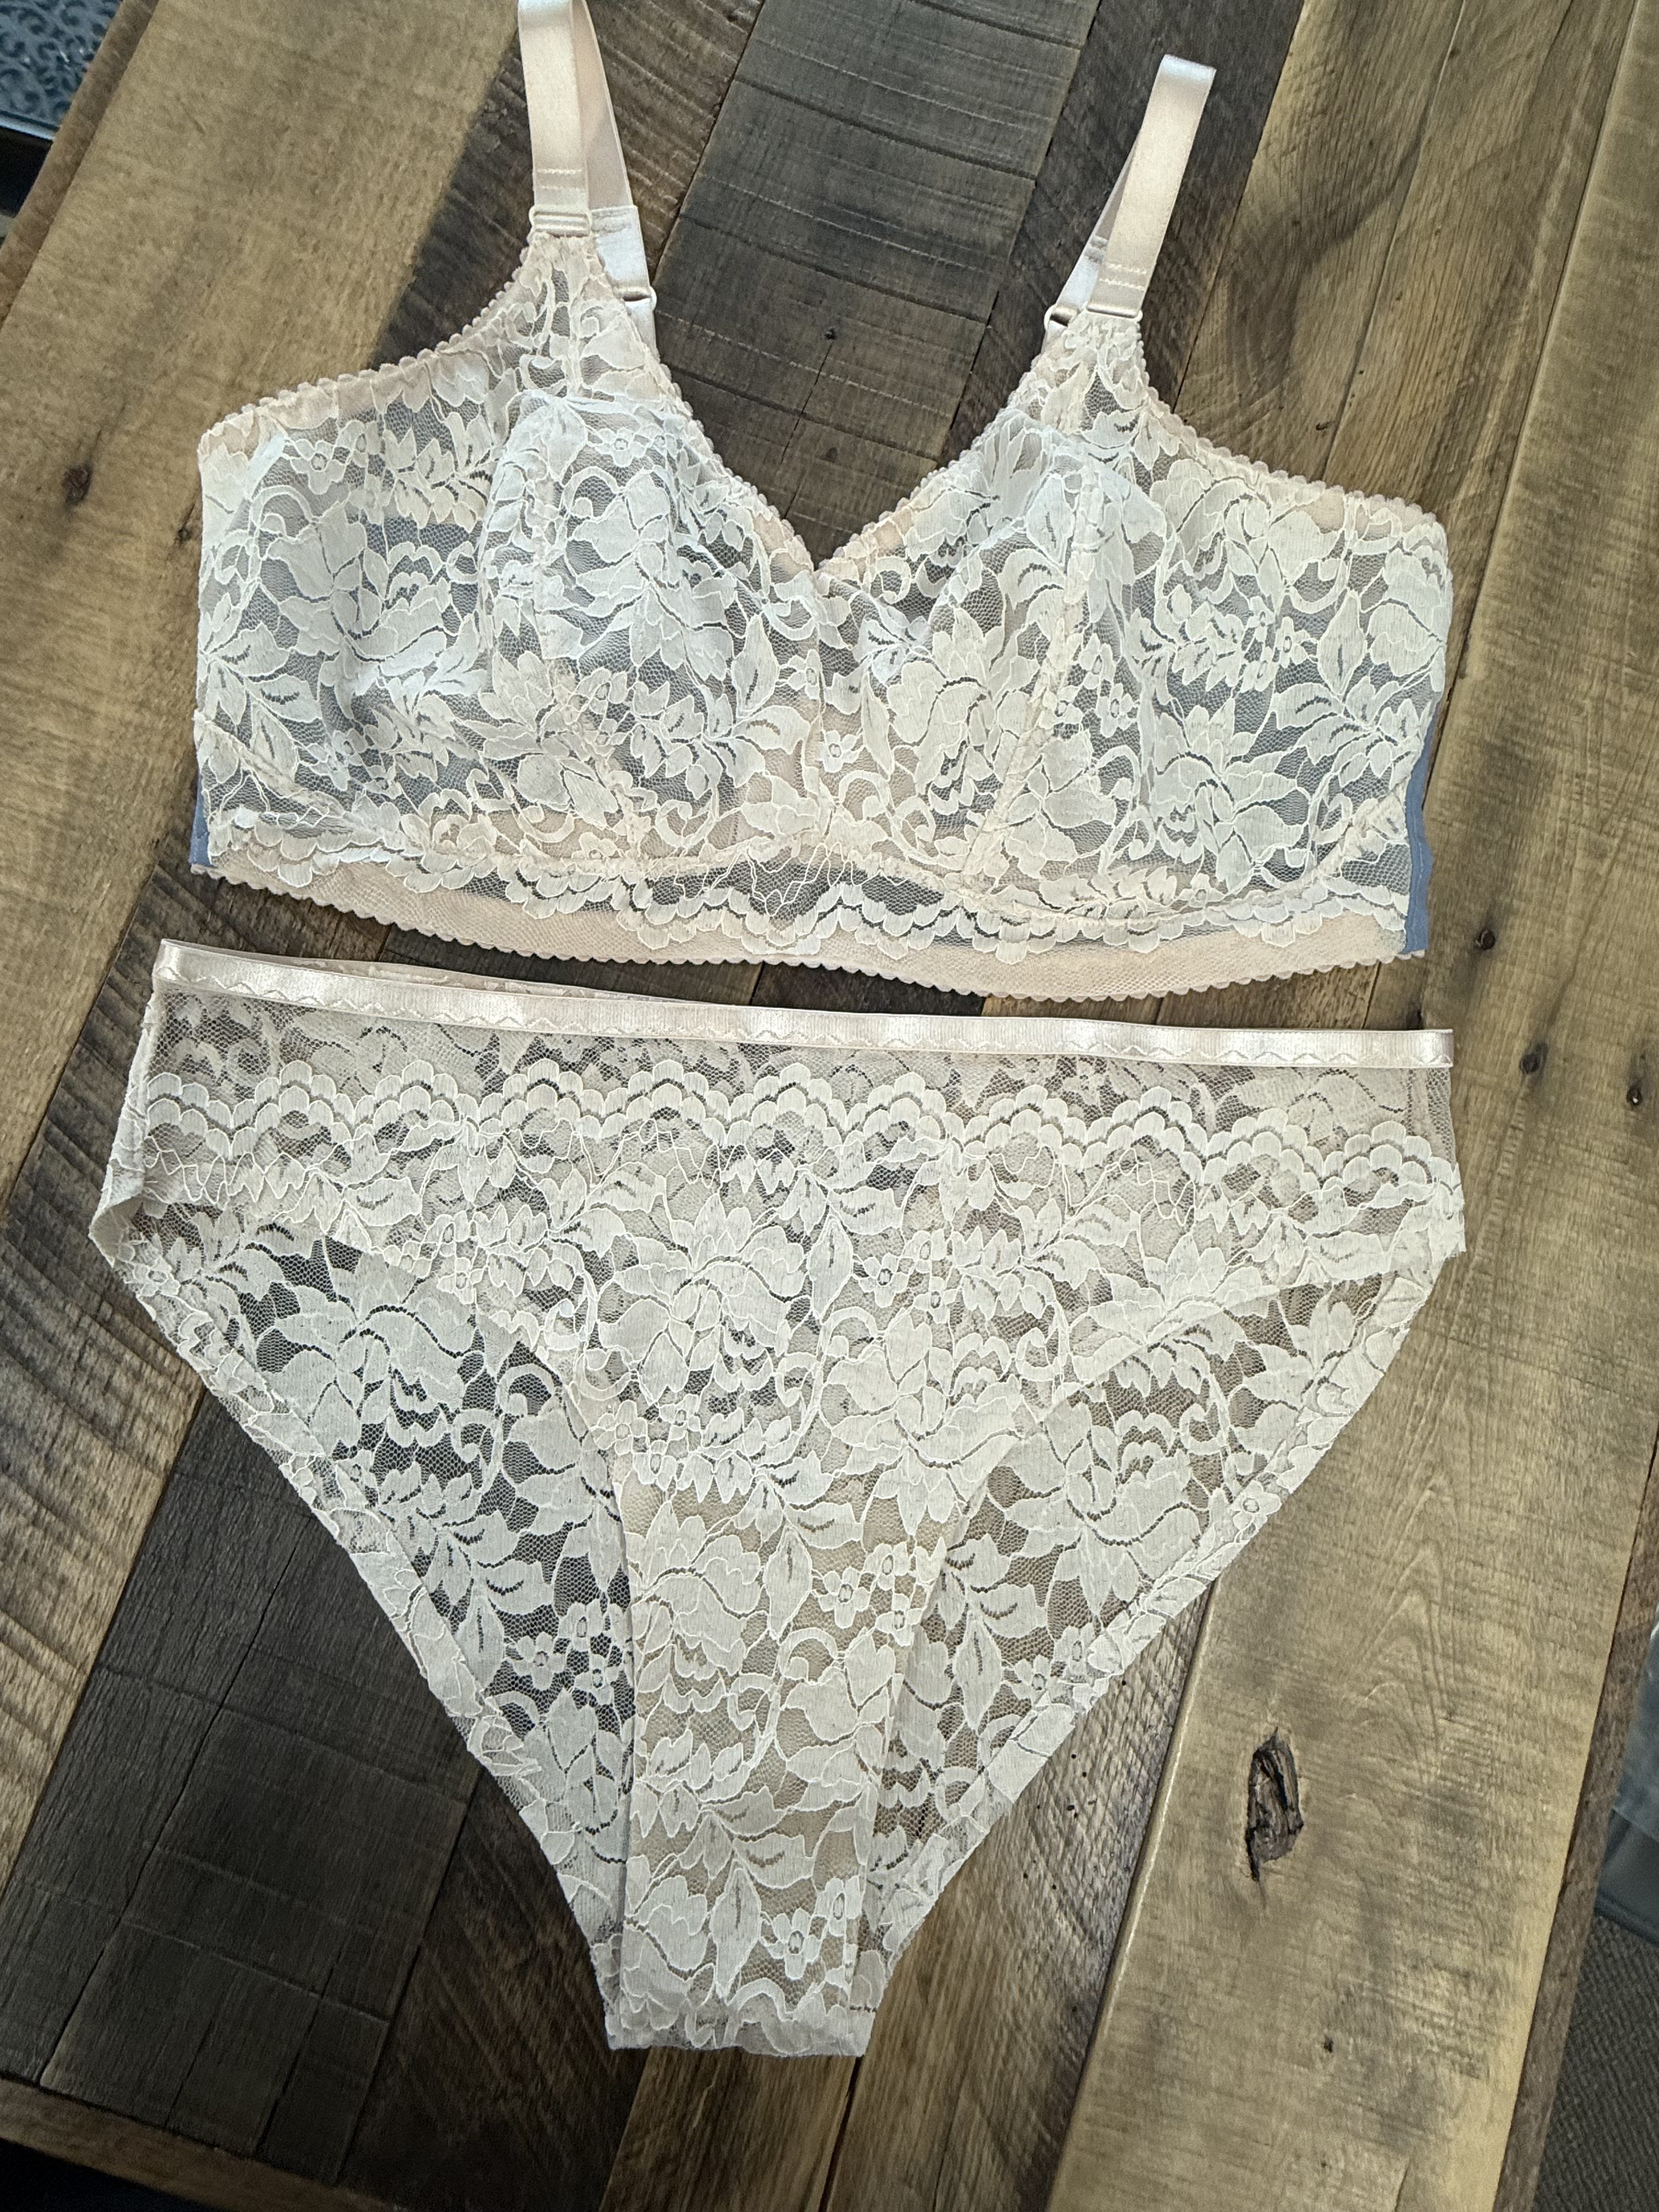
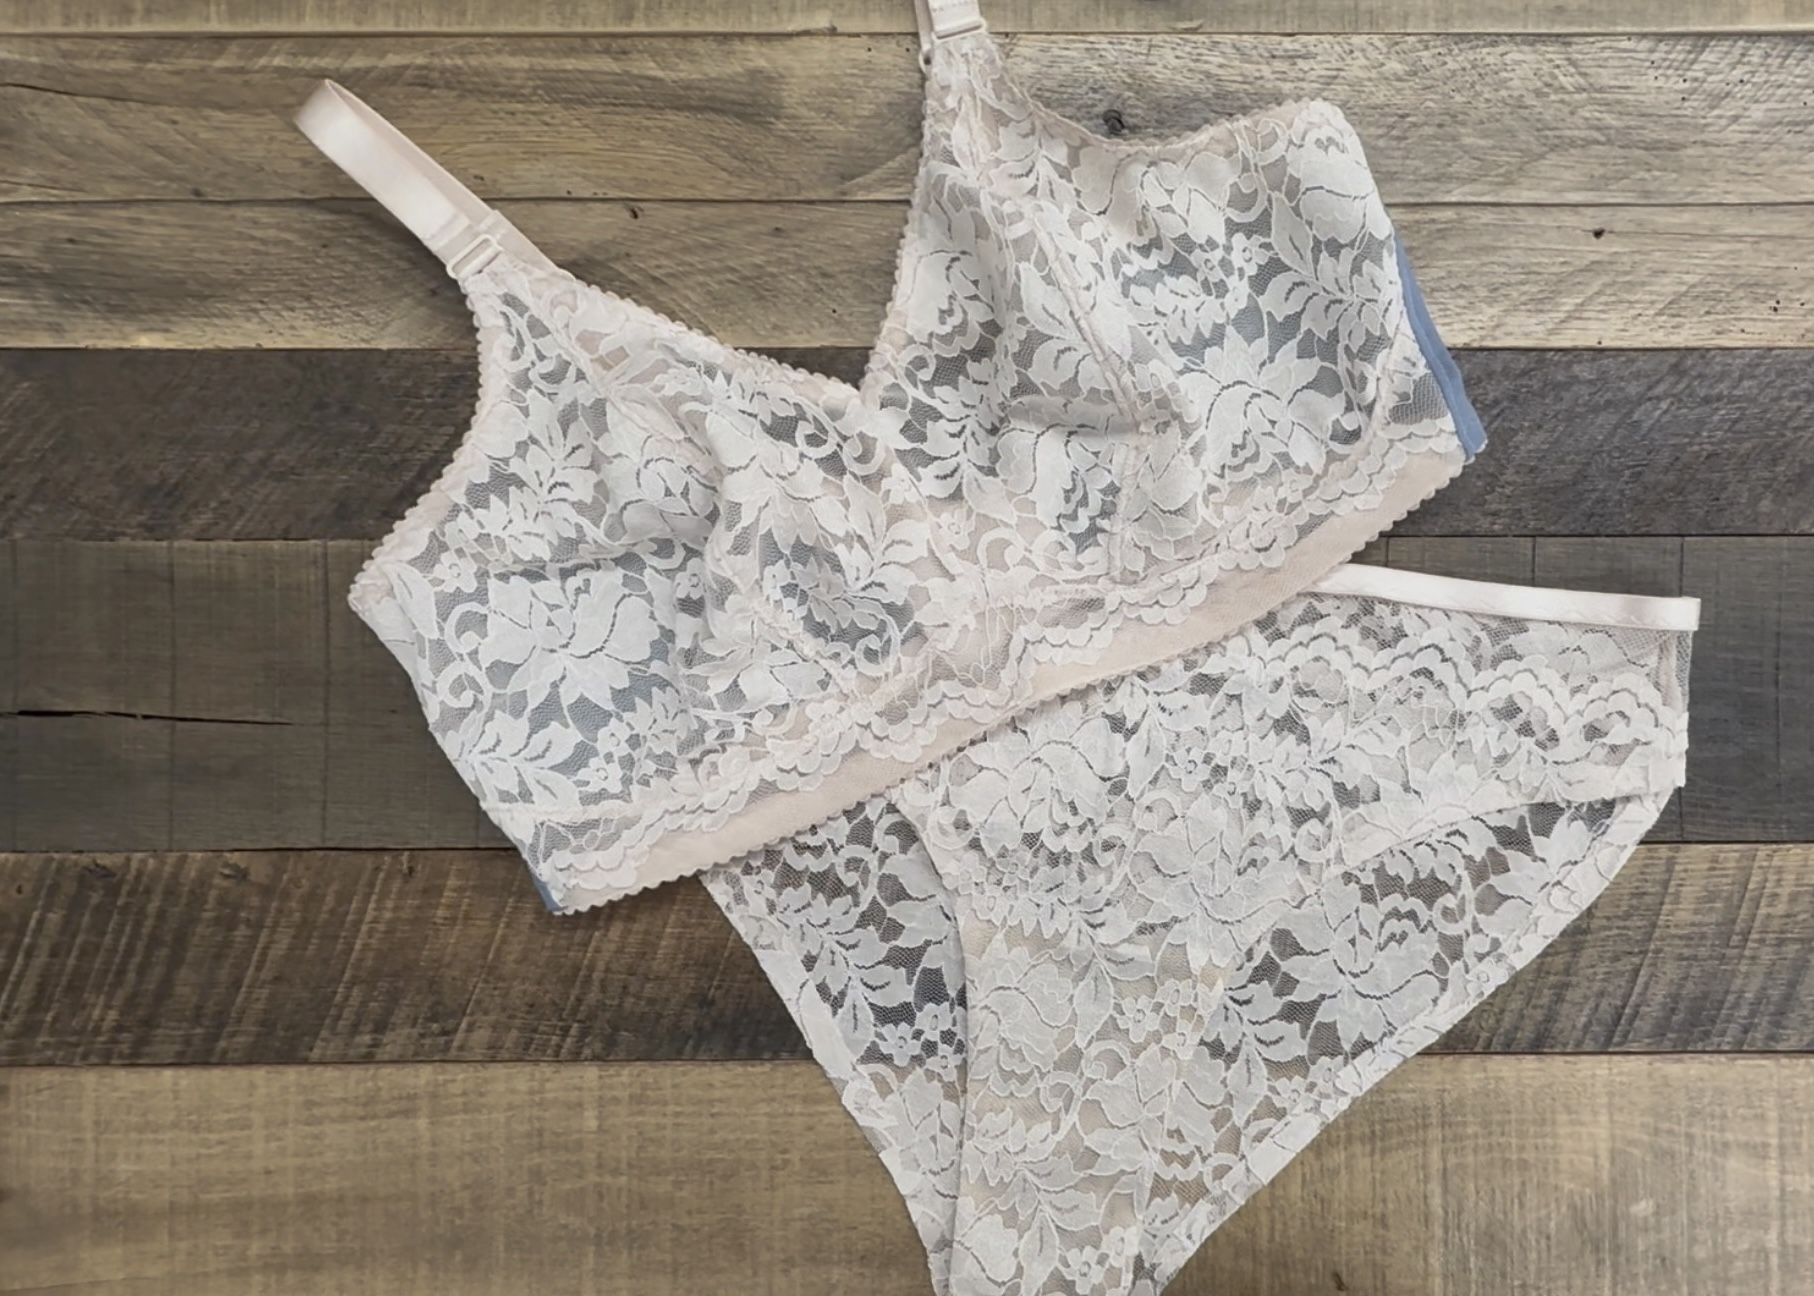
This lovely set is made with a full stretch lace aptly named “Intimate Bouquet”. The front of the bra is lined with a stable lining (Sheer Cup Lining), a standard lining fabric sold in most bra-making supply boutiques. The Back Band of the bra uses Power Net, a standard name of back band fabric….NOT power mesh…Power Net is what you want. The Matching Panty is made with the same stretch lace using Fusible Elastics on the leg opening…a fun notion to have!
As you follow the video-guided instructions, feel free to make a muslin version of your garment if you are new to bra/panty making, will help you practice the stitches, the techniques used on your machine, and simply build your confidence related to getting a good fit. Fit is the true journey in bra/panty making, and the Lotus Wireless Bra pattern is designed just for that.
Measurements & Pattern Size
Taking your measurements is easy, with the exception of very specific measurements you will need for these garments.
To determine the size to cut from the patterns, do your best to feed your measurements into the pattern instructions. Each pattern is designed with a measurement/sizing convention designed for that pattern. So if your measurements are not aligned exactly to the size, go with the larger size.
Example: Patterns from LilypaDesigns require the Horizontal Hemisphere measurement and the Bottom Cup Depth measurement – and sometimes those two body measurements do not align perfectly, mainly because it’s a unique body we are measuring. So simply put, always go with the Horizontal Hemisphere first, and then you’ll have the opportunity to adjust later…which again, is the real journey.
Lotus Bra Pattern Cutting
Your pattern downloads in a format that lets you print just the size you need, instead of the whole pattern. Use your computer to read instructions and refer to this video for clarity.
Neckline Center & Front
Here, you’ll be introduced to enclosed seams on the bra cups — a technique that keeps seams tucked away to prevent irritation, while keeping them strong enough to hold up after wear and washing. Also, the order of construction is important, as there are a few things that come later that need to be sewn in place now, like the neckline elastic before joining the center front.
Bra Cups with Enclosed Seams
Just fun to remember: Enclosed seams are created in layers: main fabric to main fabric – lining to lining
The front of the bra should be stable; therefore, using “straight stitching” is the rule – always test your stitch with your preferred needle on a scrap of the same fabrics you’ll be sewing.
Bottom Band & Back Band
Now is the time to use your zig-zag stitches. A mental rule is when you’re “stitching on top of elastics” or thinking: do I need this area of the bra to stretch?” The 3-step zig-zag is BERNINA stitch numbers 4 or 16…which ever you prefer, are community favorites.
Band Elastic & Straps
Elastics come in various sizes based on design and size preference…mainly for comfort and durability of the garment. Enjoy playing and testing various sizes.
Finished Lotus Bra
Stay tuned for part two of the BRAugust Sew Along, where I will be teaching you how to make a matching panty!